Chicken Cutlet Mastery: Making Chicken Cutlets At Home
As a participant in the Amazon Services LLC Associates Program and other affiliate programs, Easy Homemade Life may collect a share of sales or other compensation from the links on this page. This comes at no additional cost to you, and all the prices and availability are accurate at the time of publishing.
Chicken cutlets have secured a prime spot in many culinary repertoires worldwide, and for good reason. They represent a perfect blend of ease, versatility, and deliciousness. Whether you’re a home cook, a college student or a seasoned chef, chicken cutlets can simplify your cooking experience while delivering mouthwatering results.
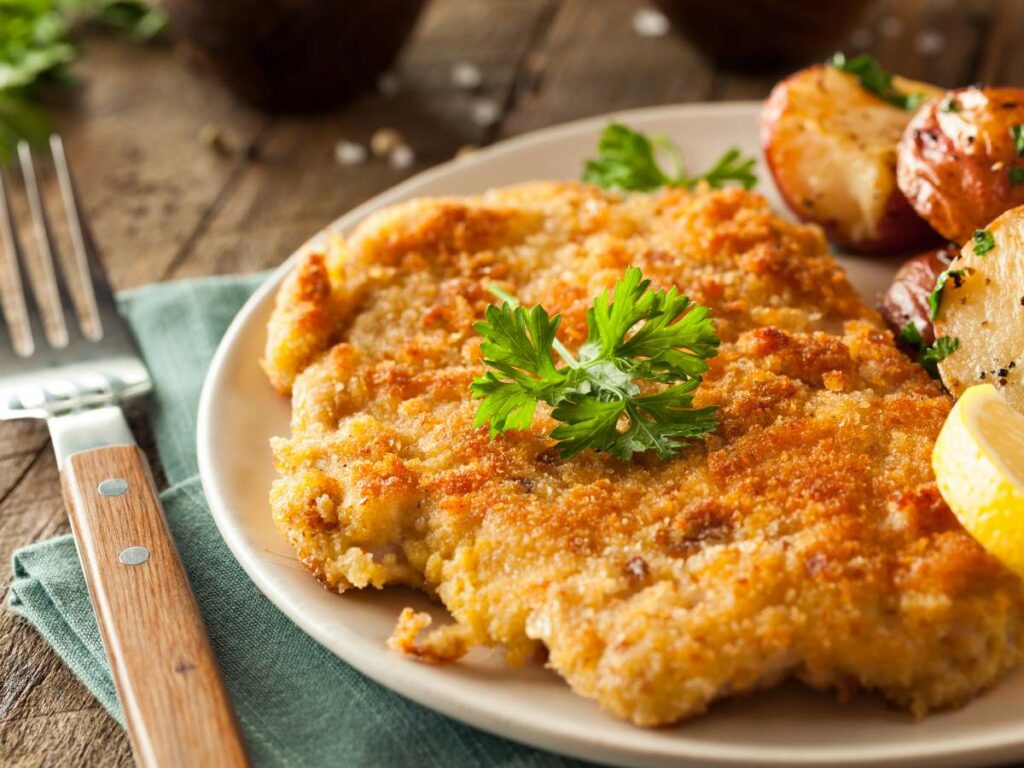
Let’s talk about the basics of chicken cutlets – their significance, ease of use, and how to prepare them, whether by purchasing or making them at home. Let’s get started!
Why Consumers Use Chicken Cutlets
One of the primary advantages of chicken cutlets is their thinness, which translates into rapid cooking times. This means dinner can be on the table in minutes, making it an excellent choice for those busy weeknights when time is of the essence.
Chicken cutlets can be the foundation of countless dishes. They’re perfect for grilling, pan-frying, baking, or even broiling. Cutlets are the way to go whether you’re craving a crispy breaded cutlet topped with slow cooker applesauce, a creamy chicken piccata, or a simple grilled chicken salad.
Their uniform thinness ensures that they cook evenly. Say goodbye to the challenging task of ensuring thicker chicken parts are done without drying out the thinner portions.
“I prefer cooking with chicken cutlets because most of my meals are the quick and easy variety. Cutlets cook more quickly and are also easier to cut. They are a no-fail way to get fully cooked, delicious chicken in your recipes.”
— Gena, Ginger Casa
Buying Vs. Making Chicken Cutlets At Home
While many grocery stores offer pre-cut chicken cutlets, there’s also a certain satisfaction in preparing them at home. Both methods have their advantages.
Buying chicken cutlets is convenient. When you don’t have much time, buying them premade is a time-saver. Purchasing them premade not only spares you the effort of making them at home but also saves you valuable cooking time. When a professional makes them, you know they’re more likely to be uniformly cut.
They’re a good item to stock up on if you find them at a great price because you can use them for so many quick-cooking chicken recipes. You can lay them flat to freeze and then vacuum pack them in bags for when you need to save time cooking lunch or dinner.
“I love using chicken cutlets because the thin cut allows the chicken to cook evenly without drying out, which I find can happen with more uneven, thicker cuts like chicken breasts.”
— Gen La Rocca, Two Cloves Kitchen
When you make them at home, they’re typically more cost-effective than buying them. Whole boneless and skinless chicken breasts are cheaper than buying cutlets. Buying bone-in skin on breasts means they’re even more budget-friendly. But you do have to take off the skin and remove the bones. So, it’s a little more work than buying them boneless and skinless.
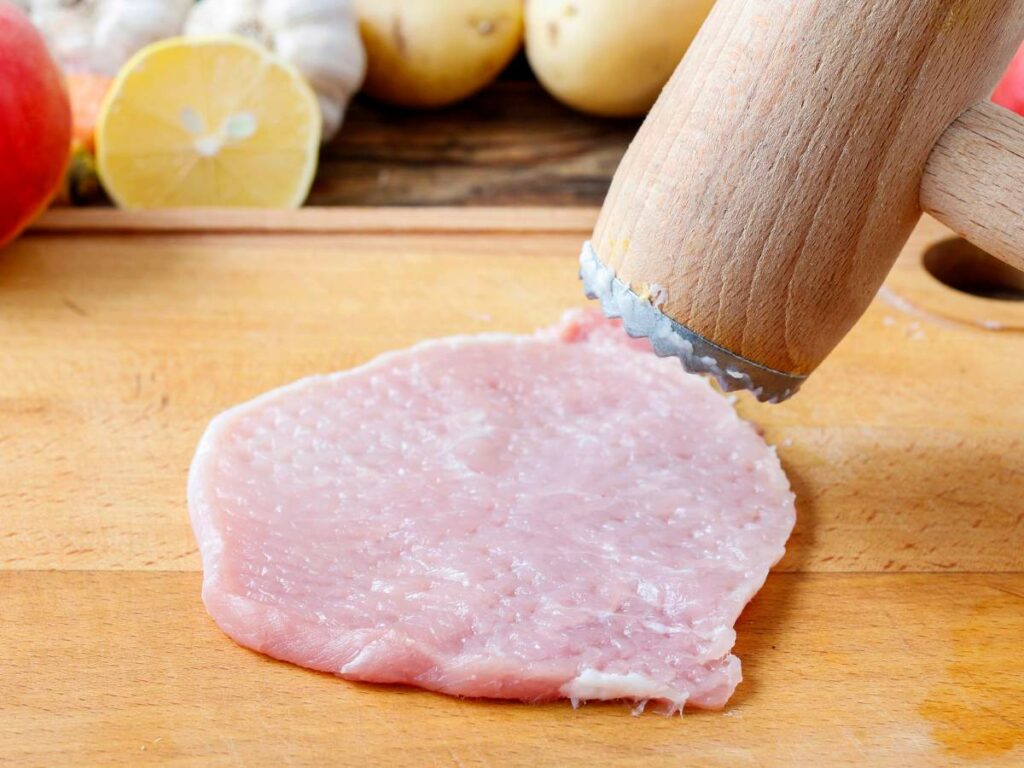
How To Make Tenderized Chicken Cutlets At Home
To tenderize chicken at home, you only need a chicken and a few tools. Here is everything you’ll need:
- Chicken breasts: If you buy them with skin and bones, remove that before beginning the process.
- Cutting board
- Sharp knife
- Plastic wrap or a zip-top bag
- Meat mallet, rolling pin or heavy skillet
Making tenderized chicken cutlets is easy. Here’s a quick step-by-step directions:
Step 1: Prep your workspace
Lay plastic wrap on a flat surface, like a cutting board. Place the chicken breast on the plastic, then cover it with another piece of plastic wrap. This prevents any juices from splattering and keeps the process hygienic.
Step 2: Optional initial cut
For particularly thick breasts, you might want to slice them horizontally into two even pieces, but this isn’t necessary if you’re comfortable pounding them to your desired thickness.
Step 3: Pound the chicken
Using your meat mallet, rolling pin, or the flat side of a heavy skillet, gently pound the chicken. Start from the middle and work your way outward. Ensure you pound gently and consistently for even thickness, not tearing the meat.
Step 4: Final touches
Once you’ve achieved your desired thickness,typically around half an inch or less for most recipes, remove the top layer of plastic wrap. Your chicken cutlet is now ready for seasoning or marinating.
Cutting Chicken Cutlets
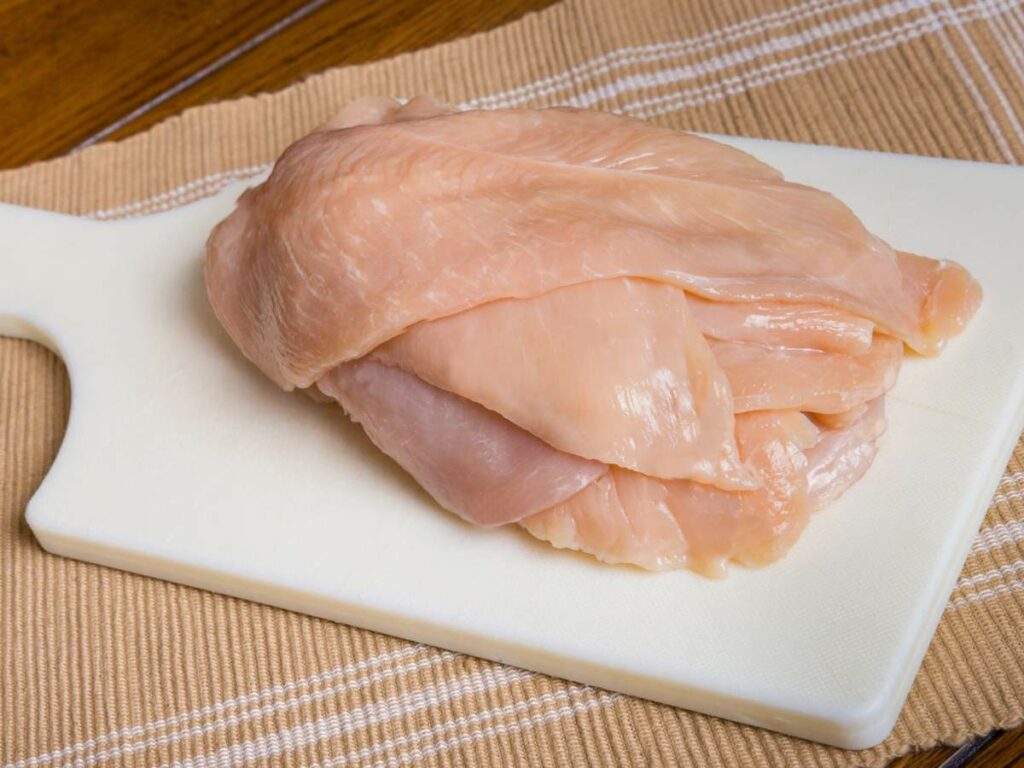
If you’re uncomfortable using the tenderize method, you can quickly and easily make them by slicing a boneless, skinless chicken in half. Lay the breast flat on a cutting board, and lay your hand flat on top of it. Using a sharp knife, beginning at the thick end, cut the chicken widthwise to make two wide but flat chicken cutlets. Be sure to have good knife control so you don’t cut yourself.
“Chicken cutlets are always priced higher than other cuts of white meat chicken. When I need cutlets, I simply purchase chicken breasts and clean and slice them into cutlets. It’s so much cheaper to do this, and it only takes a few extra minutes.”
— Michelle Price, Honest and Truly
Seasoning and Breading Chicken Cutlets
Once you have your chicken cutlets, the next step is to season or marinate them so they’re ready for cooking. Breaded chicken cutlets are my favorite, so I’ll show you how to properly season and bread this cut of meat. For this step, you’ll need:
Ingredients:
- Chicken cutlets
- Salt
- Pepper
- Other seasonings of your choice
- Flour
- Eggs
- Breadcrumbs (panko or regular)
Tools:
- 3 shallow dishes or bowls
- Whisk or fork
- Tongs or fork
- Plate
- Paper towels
Step 1: Season the chicken cutlets
Begin by patting the chicken cutlets dry using paper towels. Once dry, season both sides of the chicken generously. You can go for the classic salt and pepper, or use any other spices or herbs you like. I like using Italian seasoning, garlic powder, or paprika. Don’t skip this step – seasoning the cutlets first ensures that the chicken itself is flavorful, not just the coating.
Step 2: Prepare your breading station
Set up three shallow dishes. The first dish is for the flour, which I like to lightly season with salt and pepper. The second one is for the egg wash. I add a splash of water or milk to the beaten eggs for a smooth consistency. Finally, the last dish is for the breadcrumbs. You can use regular or panko breadcrumbs. Add some parmesan cheese or a pinch of your favorite herbs and spices for added flavor.
Step 3: Dredge the chicken in flour
Coat the seasoned chicken cutlets in the flour then shake off any excess. This creates a dry surface that will allow the egg and breadcrumbs to stick better.
Step 4: Dip in egg wash
Once coated in flour, dip the chicken into the beaten eggs next. Make sure each piece is fully coated. Let any excess egg drip off before moving to the next step.
Step 5: Coat with breadcrumbs
Finally, press the chicken cutlets into the breadcrumb mixture, making sure the chicken is evenly coated on both sides. Gently press the breadcrumbs to adhere well.
Allow the breaded chicken cutlets to rest on a plate for 5 to 10 minutes before cooking. This helps the breading firmly stick to meat and prevent it from falling off during cooking.
Common Mistakes to Avoid When Making and Preparing Chicken Cutlets
Preparing chicken cutlets, from cutting to seasoning and breading, is fairly easy. However, a few common mistakes can impact their flavor and texture. These can result in bland, soggy, or unevenly cooked chicken cutlets. Avoid these common mistakes:
- Not pounding the chicken properly: If the chicken is too thick, it won’t cook evenly. Always pound the cutlets to a uniform thickness of about 1/4 inch.
- Skipping the drying step: If you don’t pat the chicken dry with paper towels before seasoning and breading, the coating may not adhere properly, resulting in patchy breading.
- Using wet breadcrumbs: The chicken cutlets are dipped in the egg wash before coated with breadcrumbs, so the egg will most likely wet your breadcrumbs. If they become too moist, they won’t crisp up well during cooking. Always make sure to gently shake off any excess egg wash before coating with breadcrumbs, or replace the breadcrumbs when they get too wet.
- Over-breading the chicken cutlets: Adding too much breading can make the cutlets overly heavy and mask the flavor of the chicken. Make sure to stick to a light, even coating of breadcrumbs.
- Not letting the coating set: I’ve made this mistake in the past because I get too excited to cook my chicken cutlets! However, skipping this step can cause the breading to fall off during cooking. Allow the cutlets to rest for about 10 minutes after breading to allow the breading to stick to the meat.
Understanding the simplicity and rapid cooking time of chicken cutlets empowers you to incorporate them into your culinary repertoire. They’re perfect for quick grilling, quick air frying, meal prepping and so much more. For added inspiration, creating them at home can be both a time-saver and a smart move for your food budget.
Portions of this article first appeared on Food Drink Life.


