Fun DIY Christmas Tree Oreos
As a participant in the Amazon Services LLC Associates Program and other affiliate programs, Easy Homemade Life may collect a share of sales or other compensation from the links on this page. This comes at no additional cost to you, and all the prices and availability are accurate at the time of publishing.
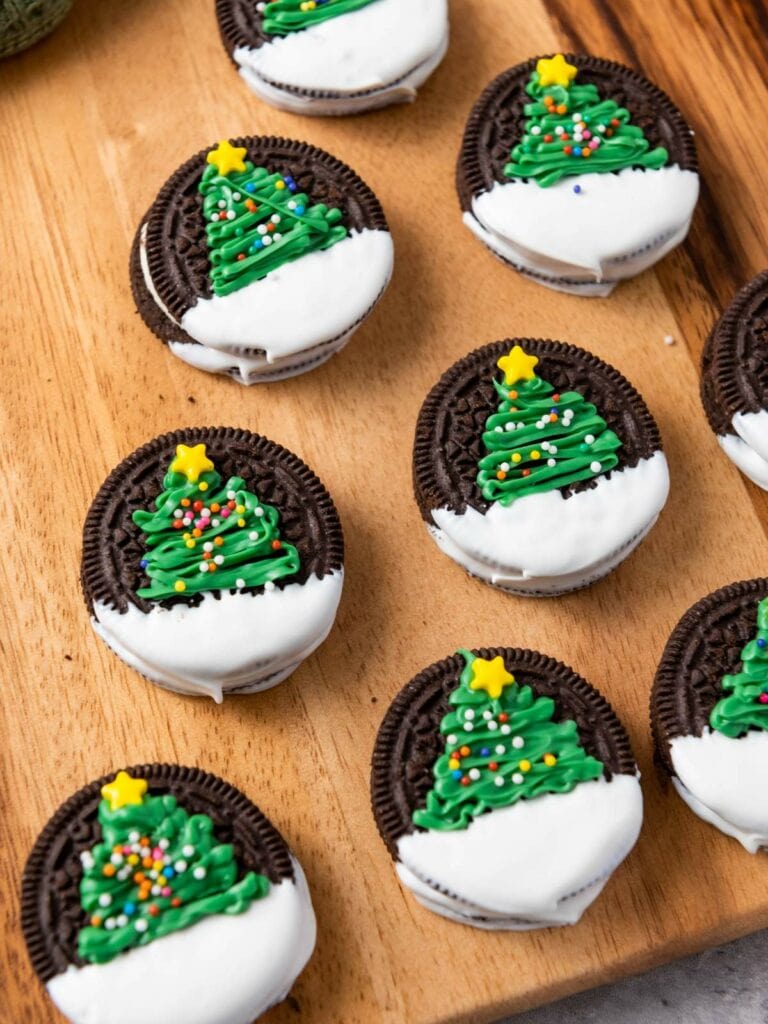
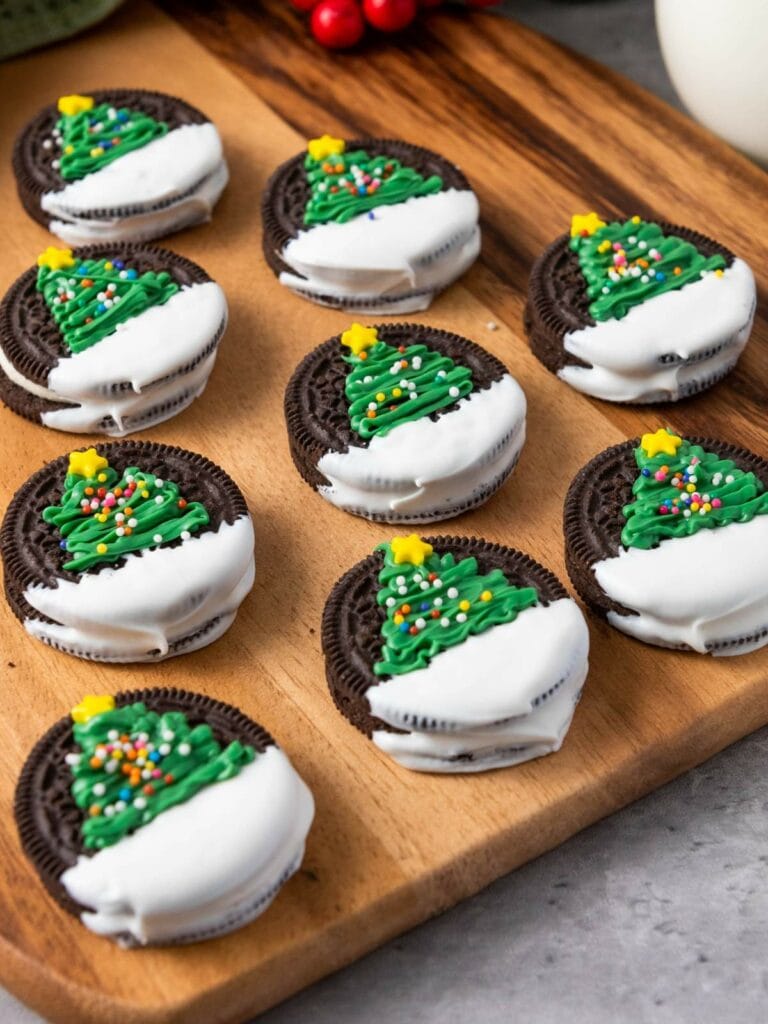
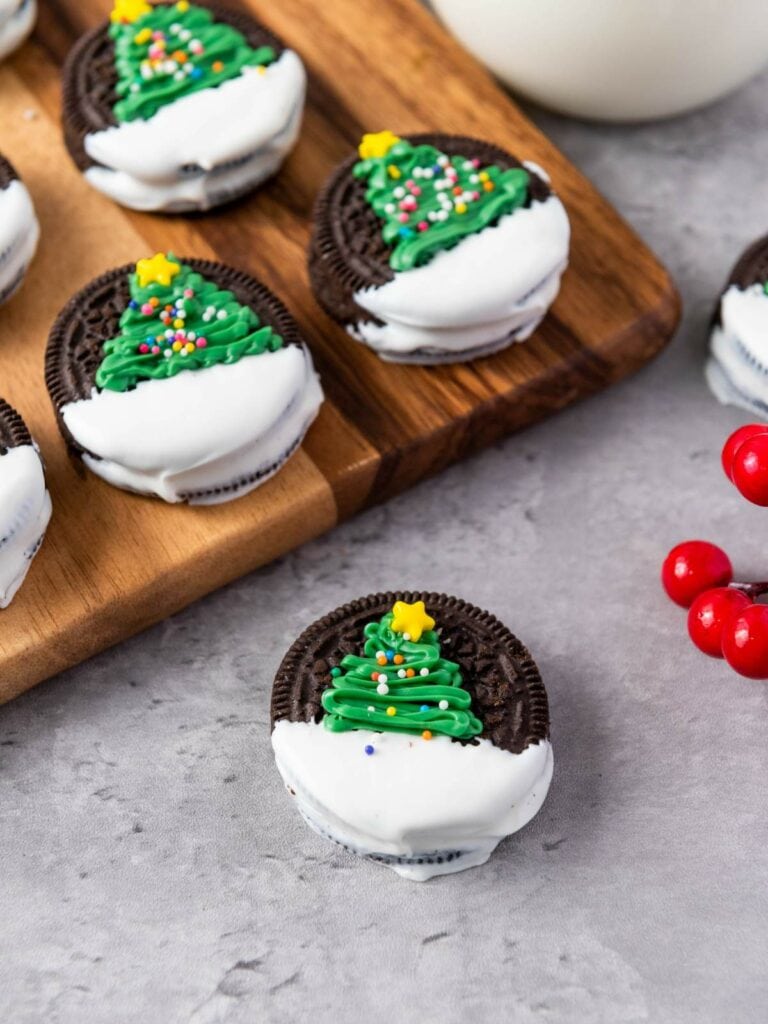
These festive Christmas tree Oreos are the perfect mix of easy and fun, just how we like it! Oreo cookies get a cheerful upgrade with candy melts and sprinkles, transforming them into the cutest little edible Christmas trees. No baking needed. It’s a simple, stress-free way to make sweet memories with the kids and bring joy to your holiday season.

Around here, I always keep holiday planning as simple yet as special as possible. When it comes to cookies, I love classics like dirty chai earthquake cookies, matcha sugar cookies, hot chocolate cookies, and M&M cookies for Christmas, but these Christmas tree Oreos have their own charm, especially during this season.
Whip them up for parties, package them in gift boxes for loved ones, or keep a stash for quiet nights with a chocolate chai latte. They’re effortless, foolproof, and add just the right festive touch to any celebration. Grab your Oreos, gather the kids, and get decorating. These treats are guaranteed to bring a little more joy to your holiday home!

Why You’ll Love This Recipe
- A family favorite: Everyone loves Oreos, but adding a festive Christmas tree twist makes them even more exciting for kids and adults alike.
- Quick and foolproof: These Christmas tree Oreos are so simple to make that even last-minute planners can nail it. Perfect for adding to your party spread or whipping up edible gifts in no time.
- Perfect party snack: Portable, mess-free, and easy to grab, these treats are ideal for family gatherings and holiday parties.
- Forget the oven: These no-bake treats are a lifesaver for busy schedules, giving you festive results without any hassle.
- Gift-ready joy: Package them in a festive box or holiday bag, and you’ve got a thoughtful, homemade gift for neighbors, coworkers, or teachers.
- Decorate your way: Make it a fun DIY activity with endless decorating options like candy ornaments, edible glitter, or snowflake designs to make each one unique.
How to Make Christmas Tree Oreos
These Christmas tree Oreos are the easiest way to bring a little extra joy to your holiday table. With just five ingredients and 20 minutes, you’ll have colorful, festive treats that look like you spent hours on them. They’re simple, stress-free, and perfect for when you need something fun and festive without the fuss. Waiting for the candy melts to set is the only hard part—and even that’s worth it.
Making these Oreos doubles as a family activity. My kids absolutely love decorating them with sprinkles, and it’s amazing to see their creativity shine. Each cookie becomes a little masterpiece, and it’s such a fun way to enjoy some family time during the busy season.
Ready to make some? Scroll down for the printable recipe card with everything you need to get started!
Ingredients You Need
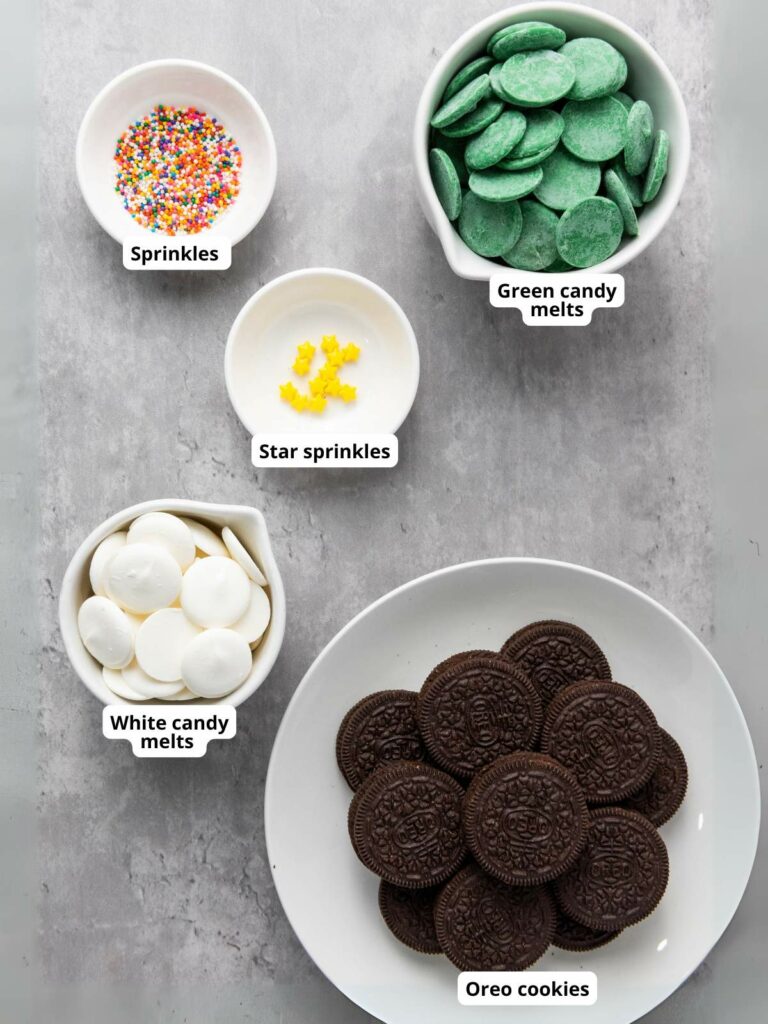
- Oreo cookies: Pick your favorite type of Oreos – classic, Golden, Double Stuf, or even thin. Want to mix things up? Flavored Oreos like mint, peppermint, peanut butter, or gingerbread add a festive twist.
- Green candy melts: For creating the Christmas tree design.
- White candy melts: Perfect for adding a snowy touch to your treats.
- Star sprinkles: Add a star on top of your Christmas trees for that classic finishing touch.
- Nonpareil sprinkles: Use these to decorate the Christmas trees and give them a fun, festive look.
Step-By-Step Instructions
These Christmas tree Oreos are a simple, fun way to add a festive touch to your holiday treats. Start by coating each Oreo with melted white candy for a snowy backdrop. Then, pipe melted green candy onto the cookies to create Christmas tree shapes. Top them off with a star sprinkle, and let the kids (or your inner kid) go wild decorating the trees with colorful nonpareils.
In less than 30 minutes, you’ll have a batch of festive treats that are as fun to make as they are to eat. These treats are always a hit with kids and adults alike, bringing a little extra holiday magic to every bite.
Step 1: Melt the candy
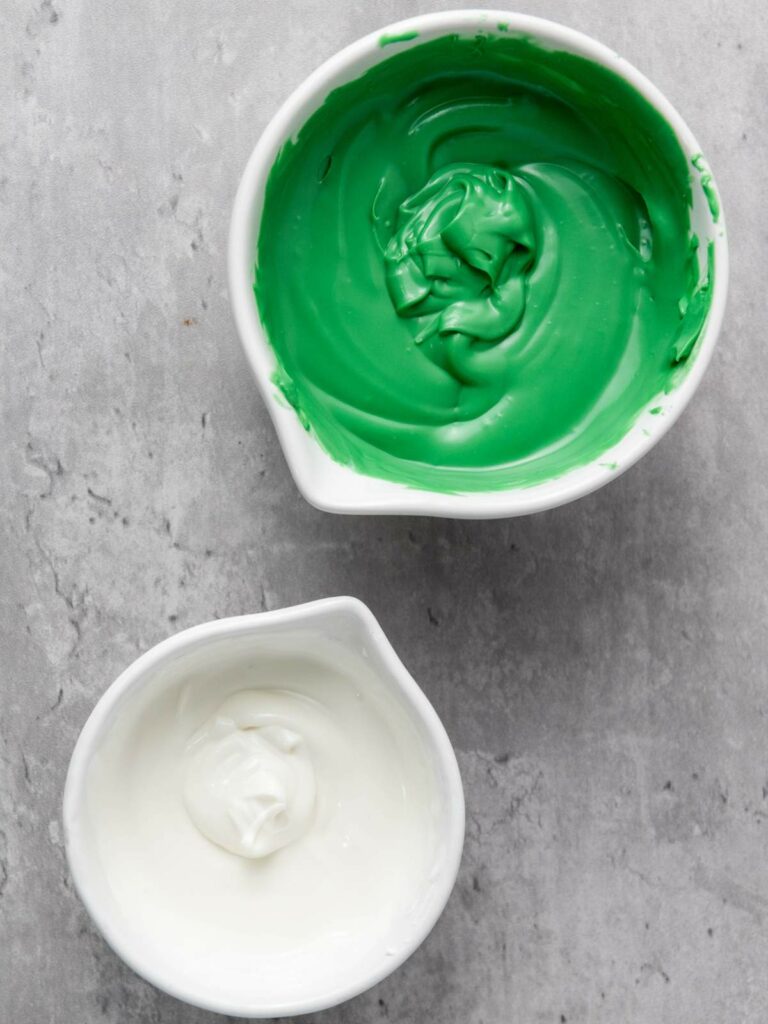
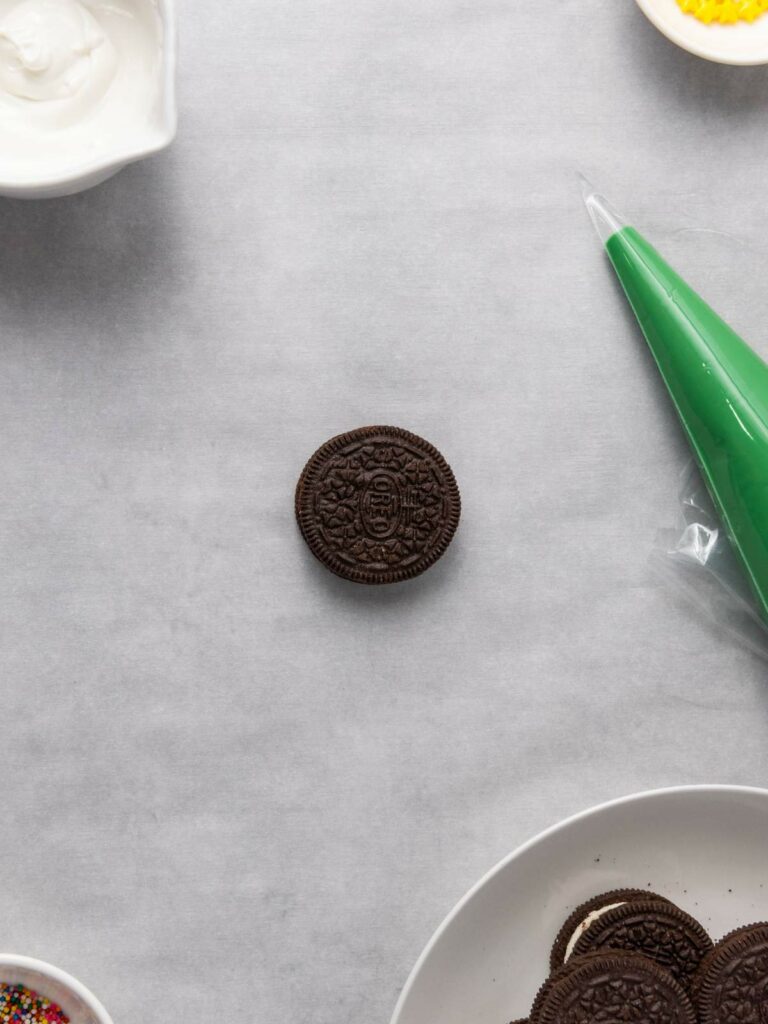
Melt the white candy melts following the package instructions until smooth and creamy. In a separate bowl, melt the green candy melts until smooth.
Step 2: Dip the Oreos
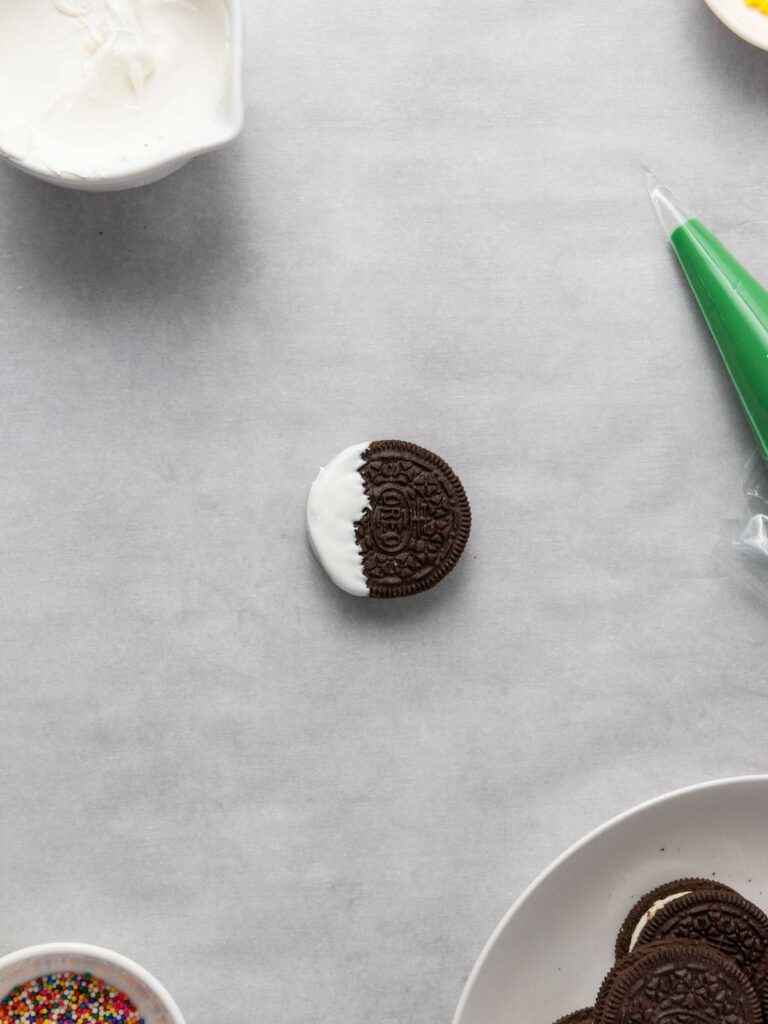
Take each Oreo and dip the bottom into the melted white candy, making sure the base is fully coated. Gently tap the fork on the edge of the bowl to let any extra candy melt drip off. Arrange the dipped Oreos onto a baking sheet or plate.
Step 3: Make the Christmas trees
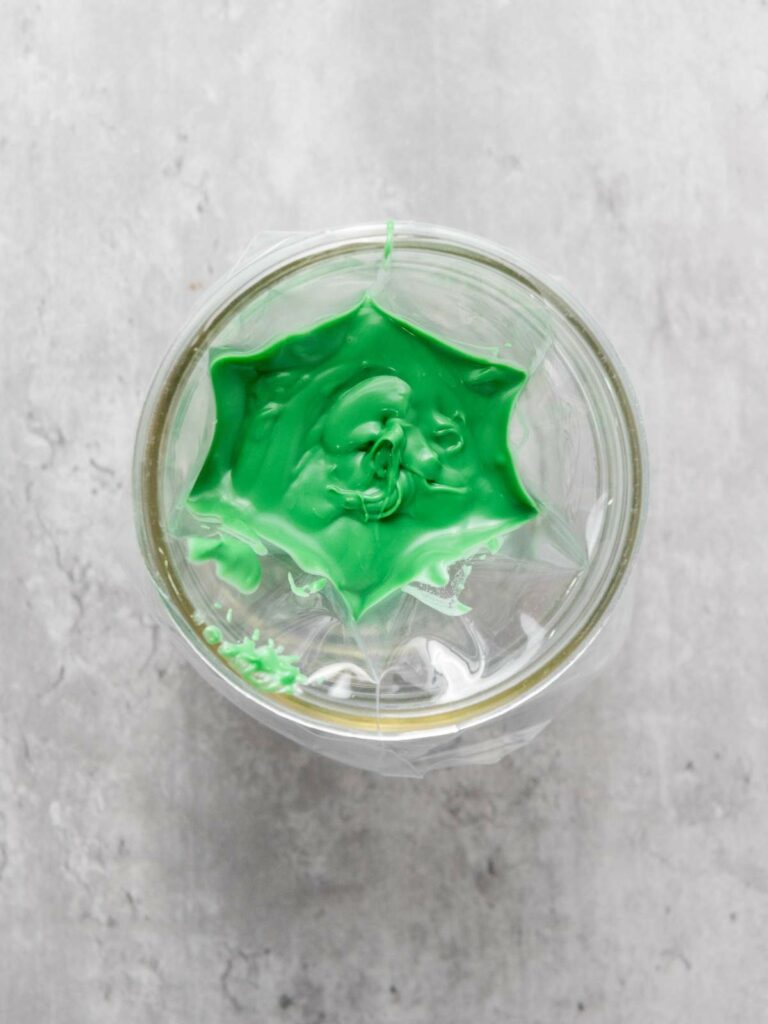
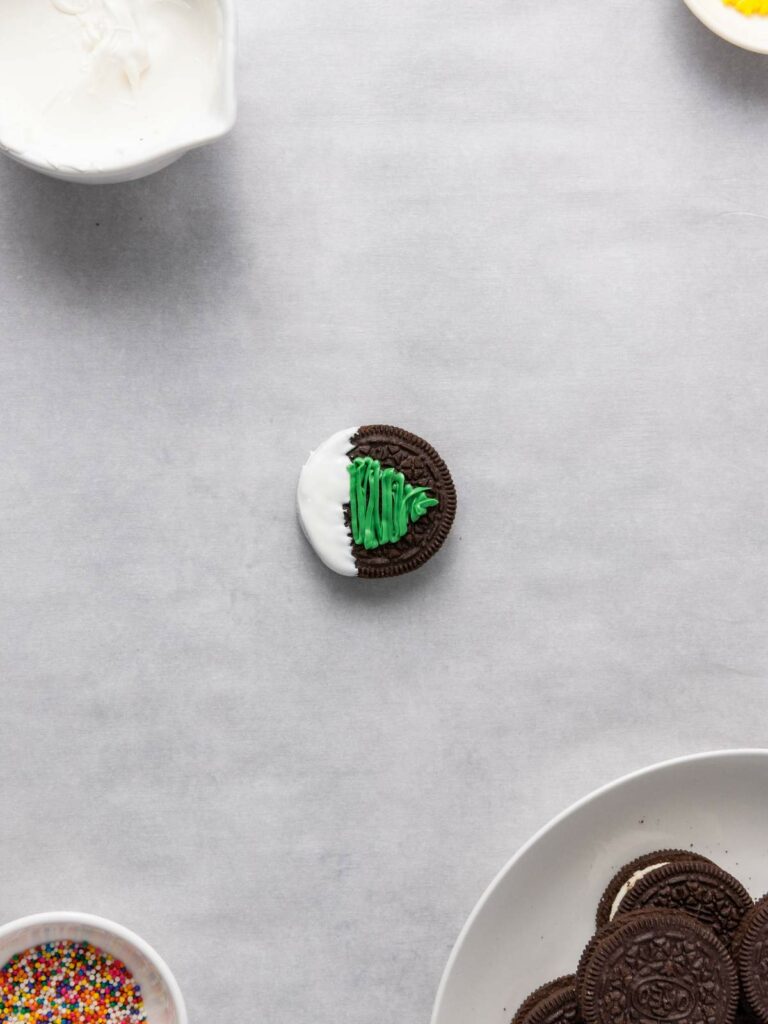
Pour the melted green candy into a piping bag. Pipe the green candy over the top of each Oreo in a zigzag pattern, creating the shape of a Christmas tree.
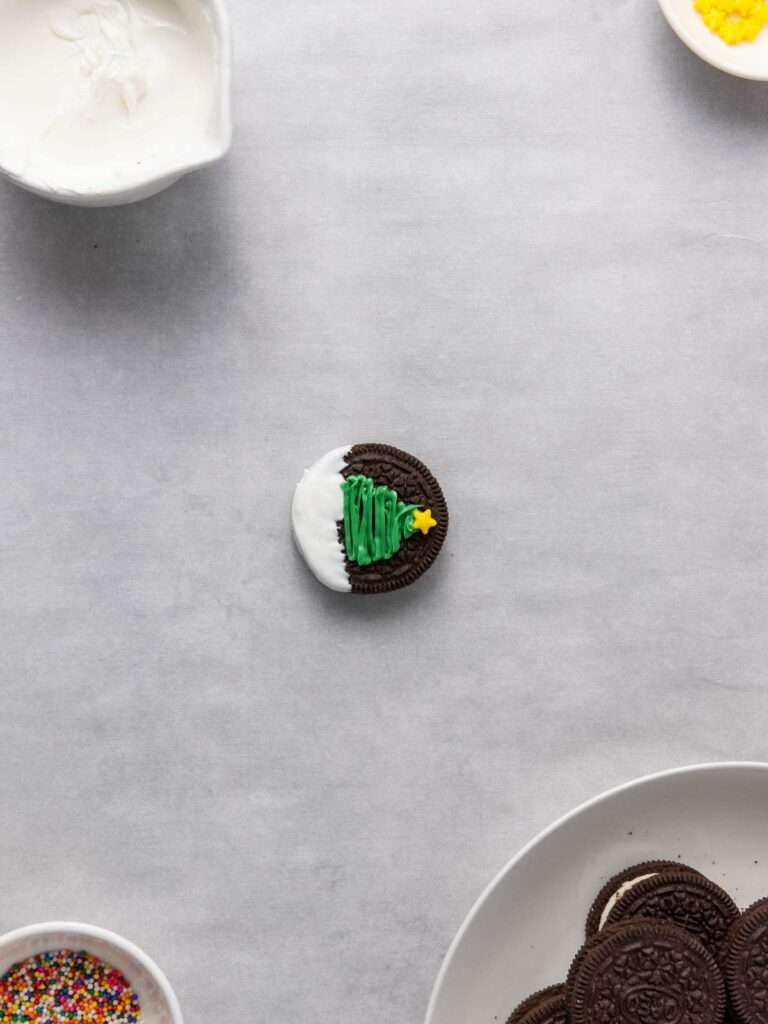
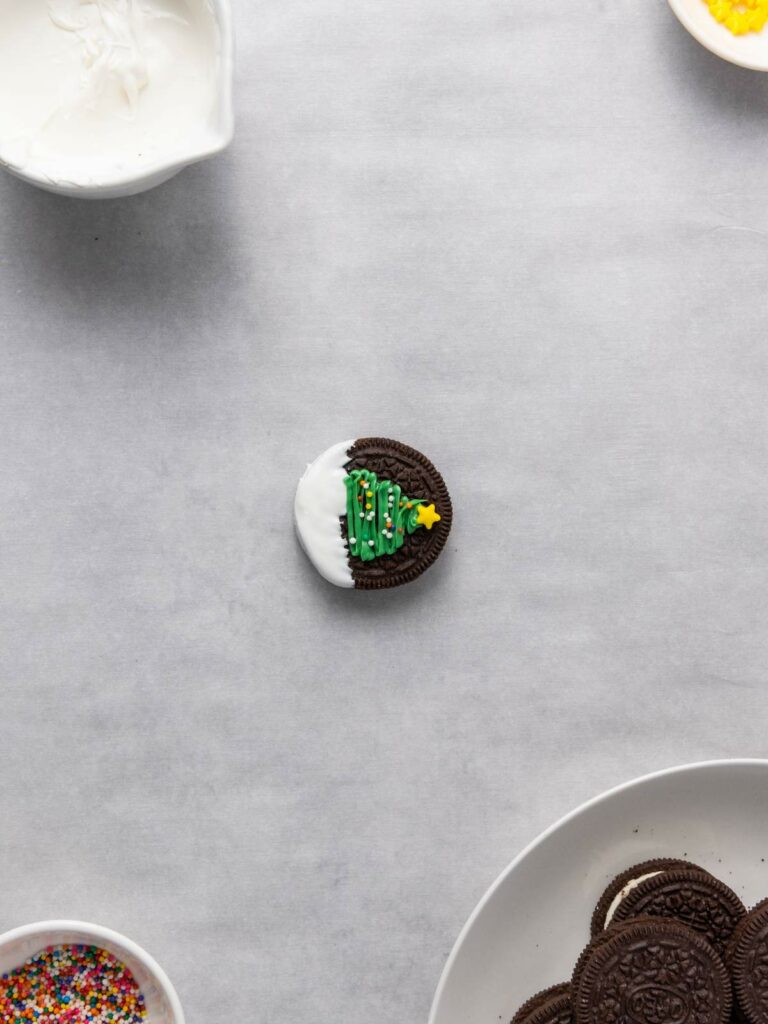
Step 4: Decorate your trees
While the green candy is still wet, press a star sprinkle at the top of each tree. Add colorful nonpareil sprinkles to decorate the trees and make them festive.
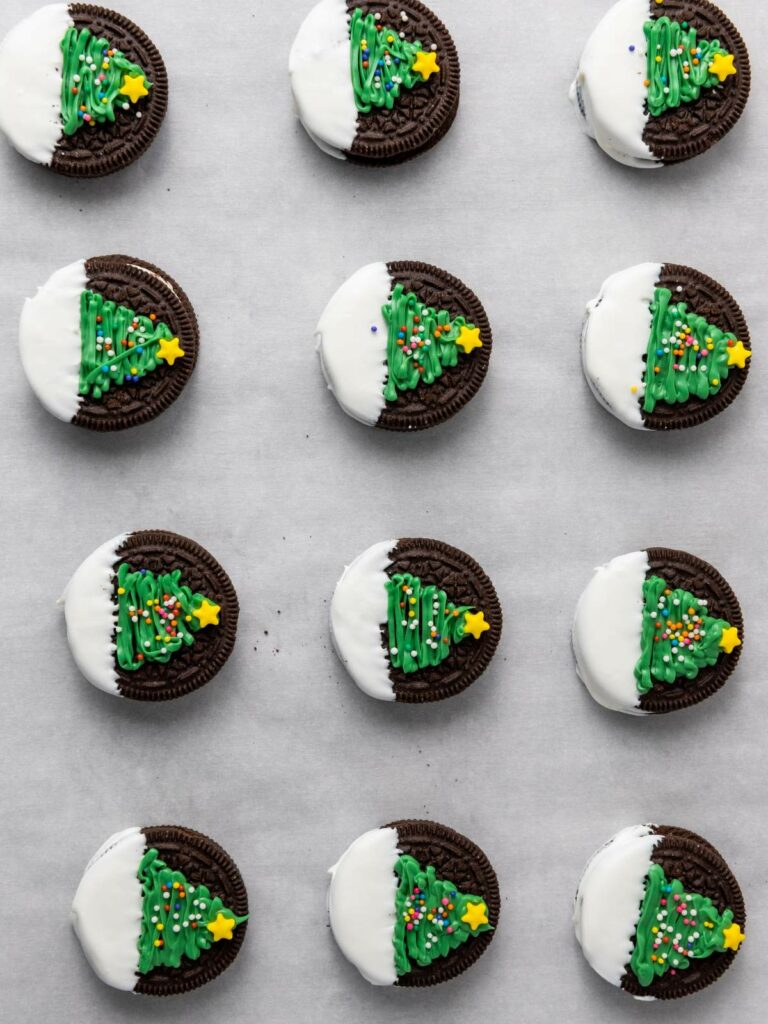

Step 5: Set and serve
Let the cookies set completely. Pop the baking sheet or plate in the refrigerator for about 10 minutes to help the chilling process to faster. Once the candy coating has hardened, carefully remove the Oreos from the tray to serve or store.
Substitutions
You can get as creative as you like with these festive Christmas tree Oreos. For now, we’ll stick with a simple and cute design that uses candy melts and sprinkles, which is perfect for beginners. If you’re missing a few items or want to experiment with what you already have at home, here are some easy ingredient swaps to try:
- Oreo cookies: If Oreos aren’t your thing or you don’t have them on hand, try using any vanilla or chocolate sandwich cookies you prefer. Mint-flavored cookies also make a great alternative.
- White candy melts: Melt white chocolate chips with a little coconut oil or butter to create the same snowy effect.
- Star sprinkles: No star sprinkles? A small dot of yellow icing or a mini gold candy will work perfectly as a tree topper.
- Nonpareils sprinkles: Swap these out for other small, colorful options like jimmies, sugar pearls, or even edible glitter to add your own creative touch.
Expert Tips
- Be prepared to move fast: Candy melts can set quickly, so keep all your decorations, like sprinkles and stars, within reach before you start. If the melts thicken as you go, give them a quick reheat to keep them smooth and easy to work with.
- Choose quality ingredients: Simple recipes shine with good ingredients, so go for vibrant candy melts and fresh, colorful sprinkles to make your treats taste amazing and look their best.
- Make them sparkle: A dusting of edible glitter or shimmer powder takes your cookies to the next level, adding a touch of holiday magic.
- Protect your workspace: Place dipped Oreos on a baking sheet lined with parchment paper or a silicone mat to keep them from sticking and make cleanup easier.
- Have fun decorating: Let your creativity run wild! Use icing to make fun designs, add candy toppings like mini M&Ms or crushed peppermint, or drizzle with melted chocolate or syrup for a personal touch.
- Pack them with care: If you’re giving these as gifts, make sure they’re fully set before packing them in festive boxes or tins. Add tissue paper or bubble wrap to keep them safe and looking perfect.

How to Store This Recipe
To keep your Christmas tree Oreos fresh and looking their best, store them in an airtight container at room temperature. Make sure to place them somewhere cool and out of direct sunlight or heat to avoid any melting. Freezing isn’t recommended, as it can mess with the texture and decorations. They’ll stay just right for up to a week.
What to Serve with Christmas Tree Oreo
Christmas tree Oreos are a festive treat that pair perfectly with a cozy cup of milk, hot cocoa, dirty chai tea latte, matcha tea, or any of your favorite holiday coffee drinks. It’s my favorite to pair with peppermint mocha! For a little extra indulgence, enjoy them with a warm french press coffee during those quiet holiday moments.
They also make a great addition to a dessert spread or holiday charcuterie board, adding effortless charm and joy to any celebration. These simple treats fit right into your stress-free holiday plans.
More Dessert Recipes To Try
If you try making these Christmas tree Oreos, I’d love to hear what you think! Your 5-star ratings and thoughtful reviews mean so much and help others discover this fun and easy recipe.

DIY Christmas Tree Oreos
Ingredients
- 12 whole Oreo cookies
- 1 cup green candy melts
- ½ cup white candy melts
- 12 individual star sprinkles
- 1 teaspoon nonpareils sprinkles
Instructions
- Melt the white candy melts following the package instructions until smooth and creamy. In a separate bowl, melt the green candy melts until smooth.
- Take each Oreo and dip the bottom into the melted white candy, making sure the base is fully coated. Gently tap the fork on the edge of the bowl to let any extra candy melt drip off. Place the coated Oreos onto a baking sheet or plate.
- Pour the melted green candy into a piping bag. Pipe the green candy over the top of each Oreo in a zigzag pattern, creating the shape of a Christmas tree.
- While the green candy is still wet, press a star sprinkle at the top of each tree. Add colorful nonpareils sprinkles to decorate the trees and make them festive.
- Let the cookies set completely. To speed things up, pop the baking sheet or plate in the refrigerator for about 10 minutes. Once the candy coating has hardened, carefully remove the Oreos from the surface.
Notes
- Choose brightly colored candy melts and colorful sprinkles to make your Christmas tree Oreos pop with flavor and festive charm.
- Candy melts set quickly, so have everything prepped before you start. If they begin to harden, give them a quick reheat to keep them smooth and easy to use.
- Lay the dipped Oreos on parchment paper or a silicone mat to keep them from sticking and make cleanup a breeze.
- Try icing for fun designs, sprinkle on candy toppings like mini M&Ms or crushed peppermint, or drizzle them with melted chocolate or syrup to make each cookie unique.
- Dust your finished cookies with edible glitter or shimmer powder for that extra festive touch.
- Make sure the cookies are fully set before placing them in holiday tins or boxes. Use tissue paper or bubble wrap to keep them safe and looking great for gifting.


