8 Cute Easter Charcuterie Boards For All Ages
As a participant in the Amazon Services LLC Associates Program and other affiliate programs, Easy Homemade Life may collect a share of sales or other compensation from the links on this page. This comes at no additional cost to you, and all the prices and availability are accurate at the time of publishing.
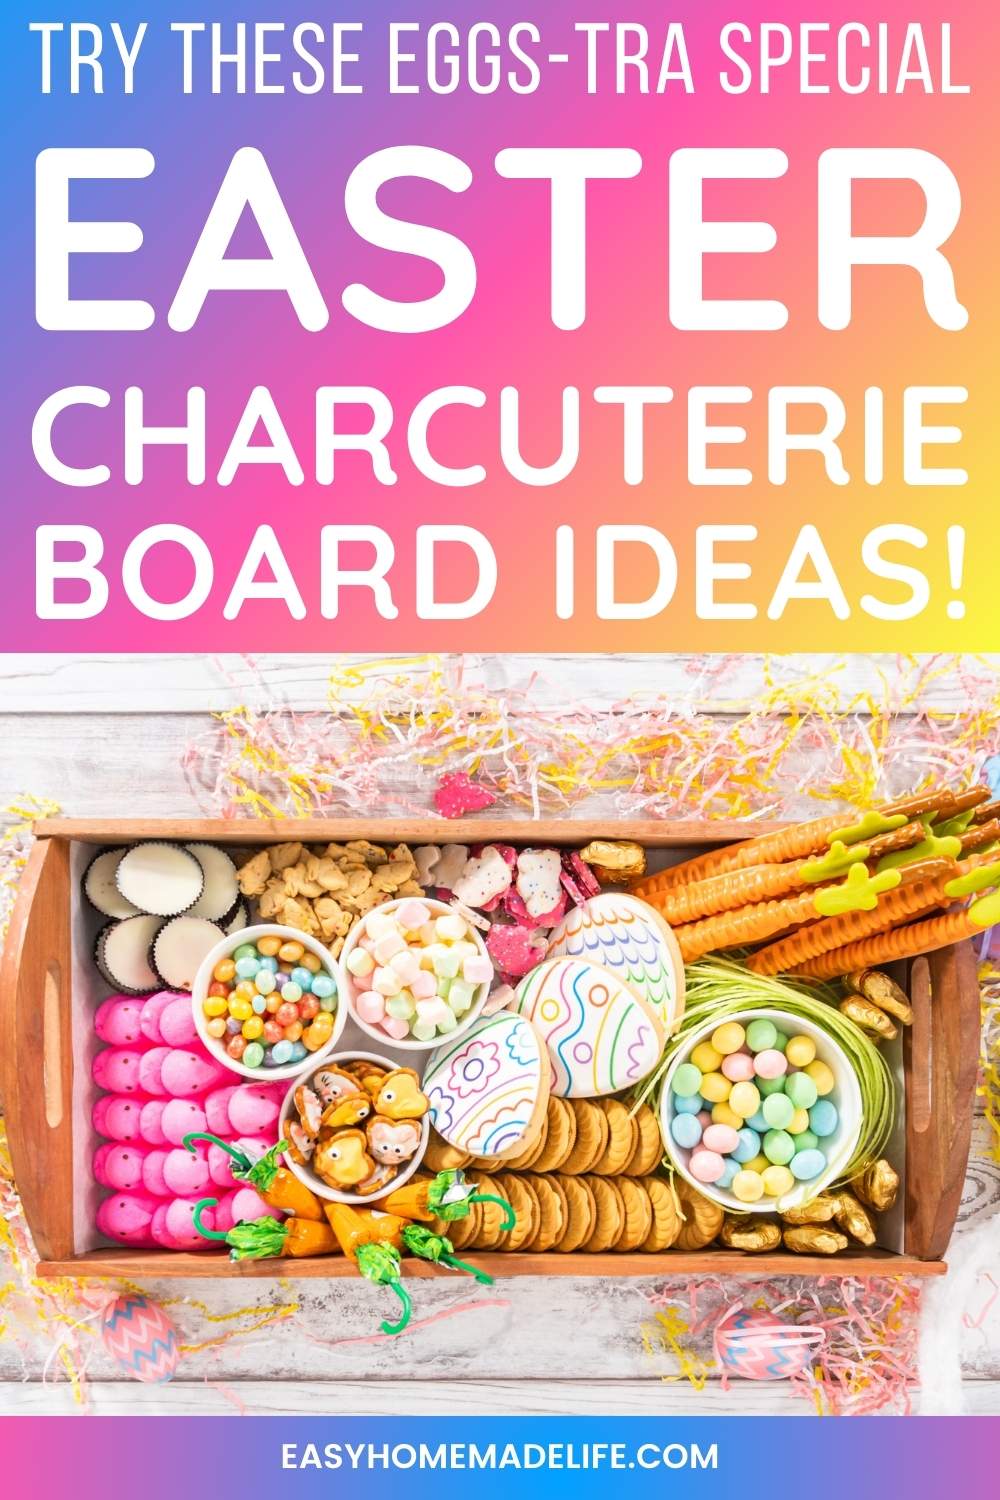
Easter charcuterie boards can be an exciting addition to your holiday celebration this year. They’re easy to do, inexpensive to make, and always a hit with the guests. They also add color, variety, and fun to your usual menu and are perfect for any gathering or party of any size.
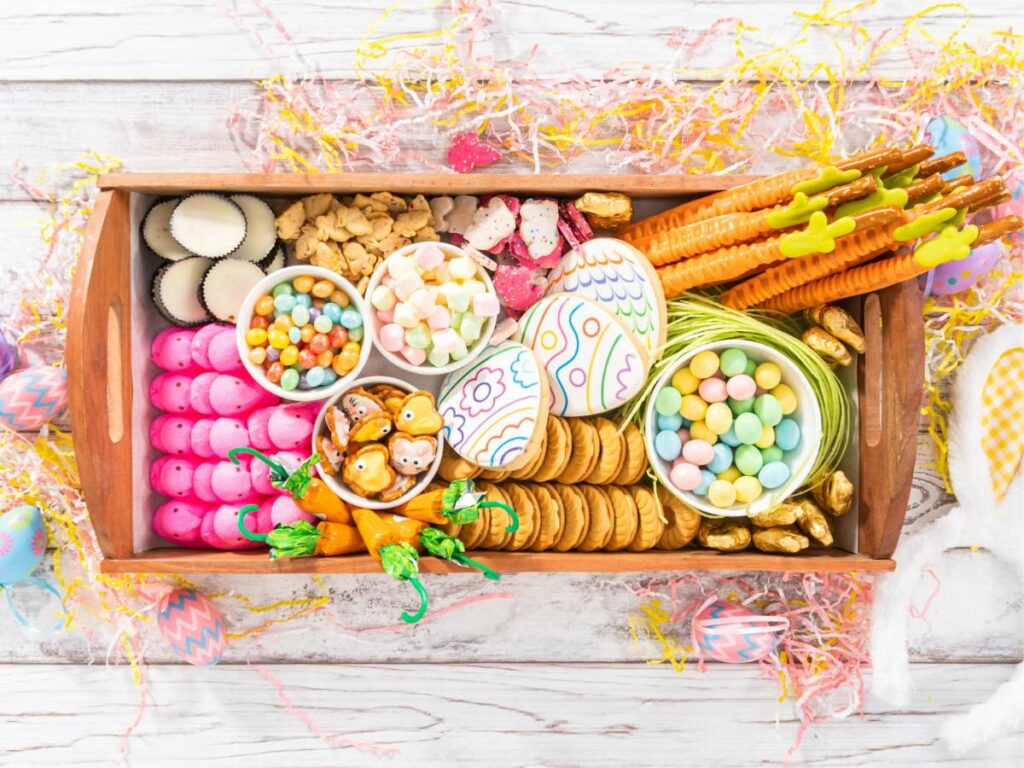
So when springtime rolls around, I get really excited about doing everything Easter – preparing for our family Easter photoshoot, preparing for the kids’ Easter activities, curating my teens’ Easter basket, and of course, assembling my Easter charcuterie boards! I usually make one for the kids and one for the adults. From cute bunnies to lovely flowers, I love that there are so many cute Easter and spring elements that I can add to make them appealing to all ages.
Planning to make one for this year’s Easter celebration? Let me share with you some helpful tips and oh-so-cute charcuterie board ideas that will help you have a hopp-y holiday!
How to Make a Charcuterie Board
The best thing about building a charcuterie board is that you can do whatever you want – you can choose your favorite ingredients and there is no right or wrong way when it comes to arrangement. My first one ever was a Christmas charcuterie board.
I followed it up with a beach charcuterie board for a summer gathering with my family, then a wedding charcuterie board for a close friend, then a red, white, and blue charcuterie board for Fourth of July. Needless to say, I love making one for every special occasion because I discovered that it only takes a few minutes to assemble and you’ll have a gorgeous statement piece at your party!
A traditional charcuterie board is comprised of three to four meats, three to four types of cheeses, and other appetizers such as bread, crackers, spreads, fruits, vegetables, and nuts. The tools that are usually used are a sturdy board, small containers, and utensils like cheese knives, spreading knives, spoons, forks, and picks.
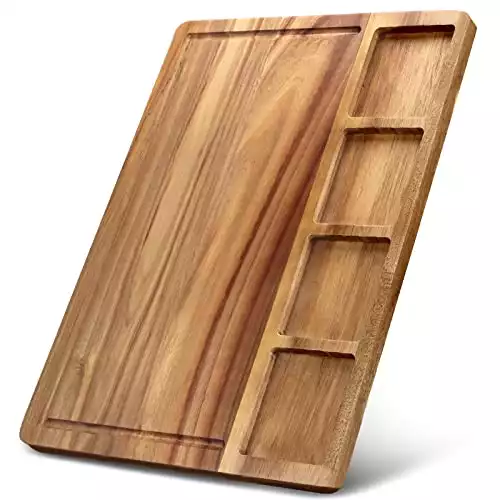
My large acacia charcuterie board is my go-to because natural acacia is a non-porous wood, which makes it easy to clean and less prone to harboring bacteria. I also love my bamboo charcuterie board that comes with serving compartments and a 4-piece knife set. For condiments and spreads. Lastly, I use my trusty charcuterie board accessories set to complete my tools, although you are more than welcome to use your standard utensils at home.
Now it’s time to build the board! Follow these steps for some guidance:
Step 1: Arrange the meats
Divide your board into quadrants and place one type of meat in the middle of each. Be creative with how you present the meats – roll, slice, or fold them so that you can show off their textures and make them look appealing. Think salami roses or ham wraps. The most important thing is to make them easy to grab, so avoid laying them flat on the board.
Step 2: Add the cheese
Place a cheese beside each meat to encourage pairings. Crumble or slice hard cheese for easy grabbing and leave soft cheeses whole but place a knife beside it to let everyone know that it’s up for grabs.
Step 3: Position your containers
Now it’s time to position your containers before the board gets too crowded. If possible, place spreads near meats and cheese they best pair with.
Step 4: Fill in the spaces with extras
Fill blank spaces with fruits, vegetables, and nuts. One type doesn’t have to stay all together in one place; you can divide and scatter them to your liking or wherever they fit. Just keep in mind that different colors, tastes, and textures would be nice if distributed evenly across the board.
Step 5: Finish off with bread and crackers
Finally, introduce the bread and crackers. Again, be creative but strategic with how you place them – stack them vertically or display them horizontally, preferably near ingredients they best pair with.
When creating a charcuterie board, it’s ideal to experiment with different shapes and arrangements to make it visually stunning. Try different patterns, layers, and clusters to add depth and interest to your creation!
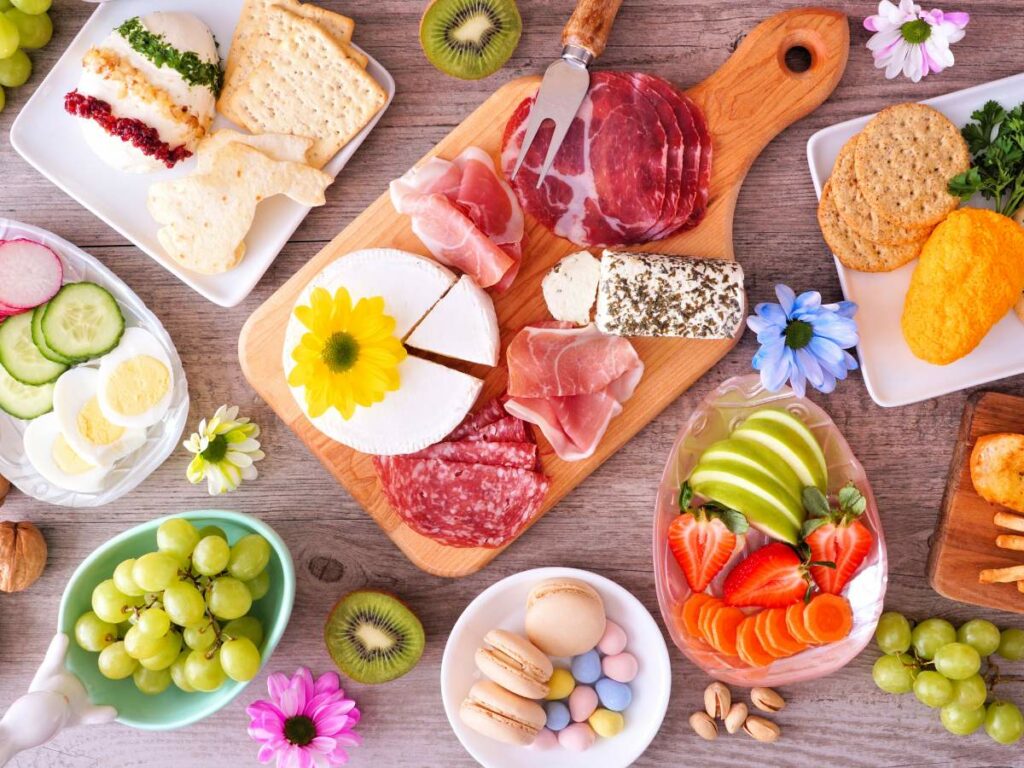
Tips for Creating Easter Charcuterie Boards
Now that you know the basics of putting together traditional charcuterie boards, it will be easier for you to adapt it to any holiday or celebration. Here are a few tips to help make your charcuterie board Easter-rific!
Get Inspired by the Easter Theme
Get everyone in the holiday spirit by using Easter elements like Easter bunnies, chicks, eggs, and pastel colors. Arrange your ingredients in a fun Easter shape like a bunny or an egg to make it more fun and festive.
Incorporate the Spring Palette
To make your charcuterie board even more eye-catching, take advantage of the freshness, vibrancy, and bright colors of the spring season. Infuse your board with soft hues like light pink, lavender, and pale green then add a touch of sunny yellow. These are the same colors that will add a bright and cheerful tone to your Easter photoshoot too.
Opt for fresh and in-season ingredients such as grapes, strawberries, asparagus, and bell peppers. Lastly, add a whimsical charm to your board by using edible flowers.
Play with Colors and Textures
Aside from taking inspiration from Easter and spring elements, it’s ideal to vary your ingredients in terms of colors and textures. Make sure that there is a pop of color across the board and make sure to place smooth candies, chocolates, fruits, and vegetables alongside textured cheese, nuts, and crackers to create depth and visual interest.
Balance Sweet and Savory
Treats in Easter charcuterie boards should have the right balance between sweet and savory so that they can cater to different ages and tastes. Offer a variety of meats, cheeses, crackers, fresh fruits, candies, and chocolates to make sure that there’s something for everyone to enjoy.
Include Interactive Elements
Include interactive elements in your charcuterie board to make it more fun and engaging.
From having build-your-own sections where guests can personalize their snacks to adding bunny-shaped cookie cutters for shaping cheeses, everyone will surely appreciate the interactive touch.
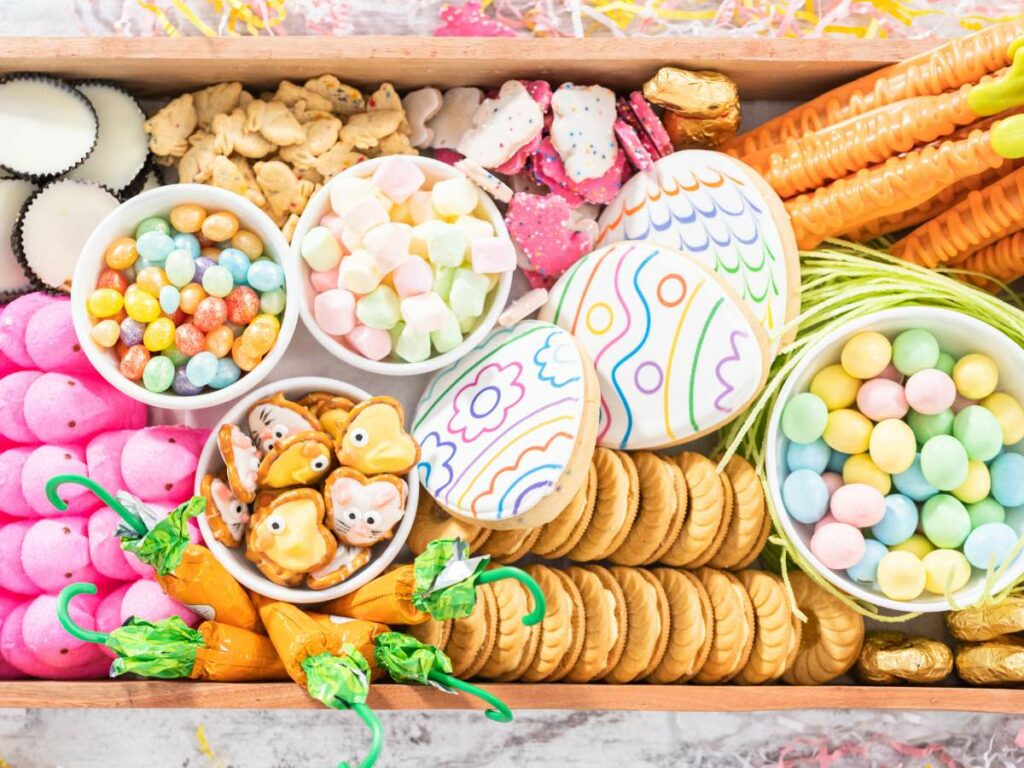
Easter Charcuterie Boards: 8 Cute Ideas to Try
When it comes to assembling charcuterie boards, the possibilities are endless. If you need inspiration, here are cute easter charcuterie board ideas:
The Blissful Bunny Banquet
One of the best snack boards is an all-dessert board. Assemble all your favorite Easter sweet treats into one big board instead of putting them in a basket. Use bunny-shaped cookies, pastel-colored candies, chocolate eggs, wafers, chocolate chip cookies, gummies, jelly beans, cupcakes, and all the Easter goodies you can think of.
Add fresh strawberries, honey-roasted peanuts, and raisins to vary the texture. If you’re hosting an Easter feast, you can serve dessert through this charming centerpiece!
Springin’ Strawberries
If you love strawberries, then this charcuterie board is for you. Pile up your board with juicy strawberries and other types of in-season berries, add a bowl of fluffy whipped cream, and include an assortment of biscuits, cookies, cake slices, and more. Think of it as a DIY strawberry shortcake station!
Easter Kiddie Cheeseboard
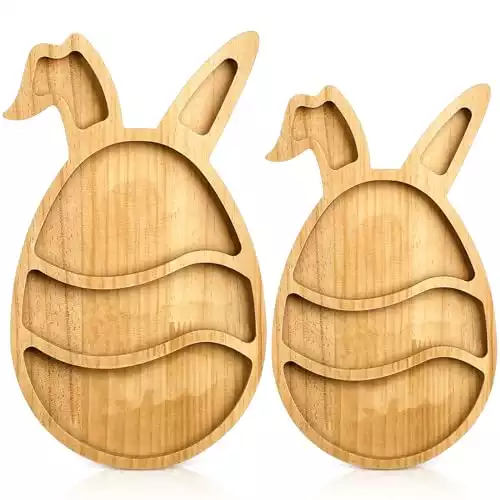
If your kids’ Easter baskets are already filled with candies, chocolates, and other sweet treats, serve this kid-friendly Easter cheese board instead. Use kid-approved variety of cheeses like cheddar cheese, swiss cheese, Monterey Jack, white cheddar, and mozzarella string cheese. Add crackers, breadsticks, their favorite fruits, and spring veggies. For added fun, build it on a cute Easter wooden board!
Fruits of Spring Charcuterie Board
There’s nothing like serving a stunning yet refreshing fruit platter on Easter! Keep it fresh and light on Sunday brunch with this fruit-filled board. Arrange a variety of your favorite spring fruits such as bananas, berries, grapes, and cantaloupe on the board, and add small bowls filled with a variety of dips and spreads!
The Green Easter Bunny
Want your kids to snack on something healthy? This adorable Easter charcuterie board is the perfect way to get the little ones to eat their veggies. Just fill a medium-sized bowl with hummus or 3-ingredient onion dip and make a bunny face using crackers for the ears, olives for the eyes, asparagus for the whiskers, and a cherry tomato for the nose. Surround it with a selection of fresh vegetables like carrots, cucumbers, and radishes and you’ve got the green Easter bunny – this was such a huge hit with my children!
Spring Brunch Grazing Board
This stunning and delicious grazing board is a mixture of the most beloved items from an Easter brunch, making them easy to share with a crowd. It’s the perfect balance between sweet and savory and offers a wide variety of treats for hungry guests.
Use bagels, waffles, lemon blueberry pound cake, bacon, hard-boiled eggs, smoked salmon, and spring fruits and veggies. Add chocolate bunnies, Easter candy, and even chocolate-covered strawberries to balance out the savory foods.
The Classic Easter Egg
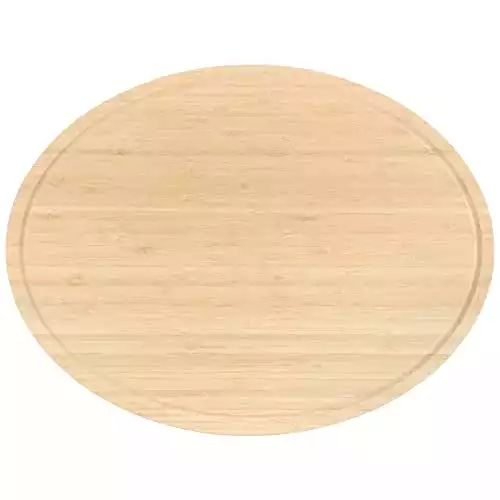
For this adorable Easter egg charcuterie board, you’ll want to use an oval-shaped serving board to give the impression of an egg. Create a patterned Easter egg template using parchment paper, lay it on top of the board, then fill it with rows of meats, cheeses, fruits, nuts, chip dip, and Easter treats while following the pattern. Small spring flowers or fresh herbs would be great additions to each row to make it more elegant.
Buttercream Bunny Board
Who doesn’t like buttercream? To make this oh-so-cute Easter dessert board, spread out vanilla frosting in the shape of a bunny then surround it with fun treats for dipping such as Oreos, marshmallow peeps, your favorite Easter candy, and all kinds of fresh berries!
Wrapping Up
Easter charcuterie boards are great for getting everyone in the holiday mood, whether it’s a candy board or an Easter brunch board. You can even turn these spreads into grazing cups, cones, and other small charcuterie board ideas so guests can have something to take home from your party!
You only need a few minutes to set one up and you’ll have a stunning brunch, dessert, or snack centerpiece filled with all your favorite Easter treats for everyone to enjoy. Bookmark this post and come back to it once Easter is near, or inspire friends and family to make cute Easter charcuterie boards by sharing this post with them!
How to Make an Easter Charcuterie Board
Equipment
- 1 charcuterie board accessory pack
Ingredients
- meat
- cheese
- spring or in-season fruits and vegetables
- crackers
- nuts
- spreads
- sauces
Sweets
- chocolate eggs
- colorful candies
- bunny or Easter egg-shaped cookies
Instructions
- Divide your board into quadrants and place one type of meat in the middle of each quadrant. Fold, roll, or slice them to show off their textures and make them easy to grab.
- Place a cheese beside each meat to encourage pairings. Crumble or slice hard cheese for easy grabbing and leave soft cheeses whole but place a knife beside it to let everyone know that it’s up for grabs.
- Position containers with dips and spreads on the board, near meats and cheese they best pair with.
- Fill blank spaces with fruits, vegetables, nuts, and Easter sweet treats. Different colors, tastes, and textures would be nice if distributed evenly across the board.
- Add the bread and crackers, displaying them horizontally or stacking them vertically.
- Finish off by adding a few spring herbs or flowers across the board.

I remember seeing your article about Xmas charcuterie boards and thinking I was going to finally try my hand at making one, but I never quite got around to it. I just made a shopping list and I’m going to make a mini practice one this week for Sunday dinner with my immediate family. Thanks for the simple break down!
Hoping you’re finally able to make one this time! I’d love to hear how it goes. Happy Easter, Annalise!