How To Make A Fruit Platter In 5 Easy Steps
As a participant in the Amazon Services LLC Associates Program and other affiliate programs, Easy Homemade Life may collect a share of sales or other compensation from the links on this page. This comes at no additional cost to you, and all the prices and availability are accurate at the time of publishing.
Knowing how to make a fruit platter is a fun and handy skill that everyone should learn. It allows you to serve a variety of fresh fruits in a visually appealing way and it’s ideal for any type of celebration like a family reunion, an outdoor wedding, or even a holiday party. A fruit platter is also a staple at all summer parties and events I plan. It’s a great way to impress your guests at a gathering and encourage healthy snacking.
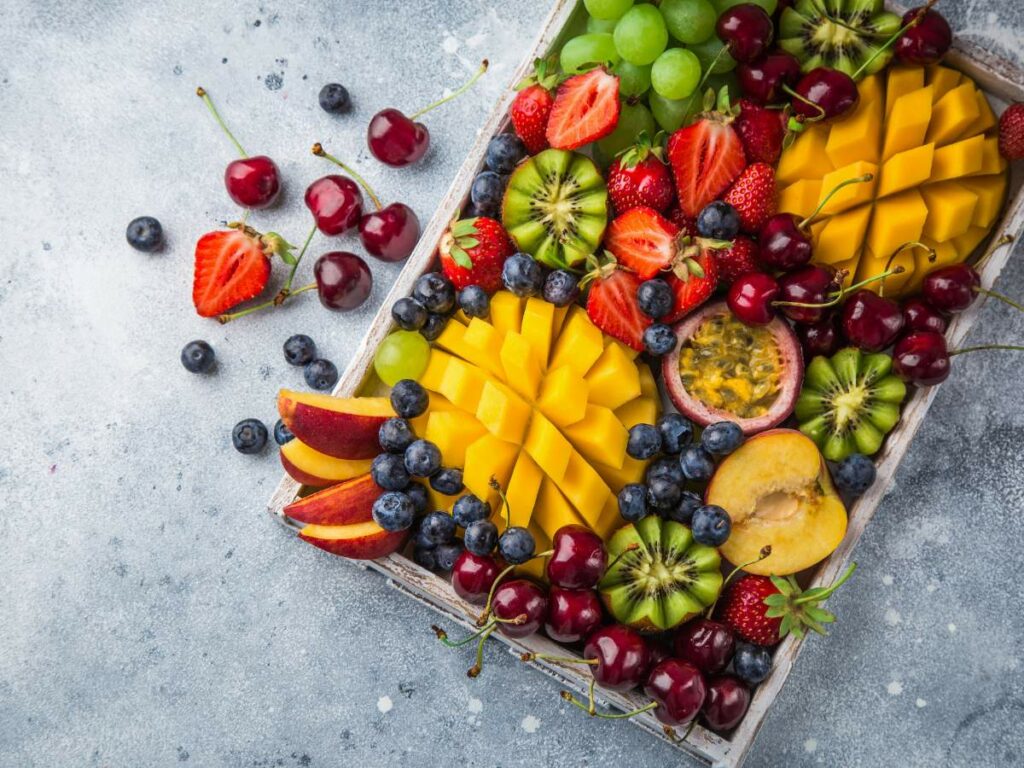
However, creating a fruit platter for the first time can be daunting without any ideas or proper guidance. But no worries; I’m here to help! We’ll talk about how to make a fruit platter step by step. I will also share with you some tips for selecting the right ingredients and how to make a gorgeous, appetizing spread.
Best Fruits To Use
If you’ve been following my blog, then you know how much I love to get creative with food. I’ve recently shared some charcuterie board ideas for different occasions like Easter, 4th of July, and Christmas, as well as for weddings and summer parties! I’ve gotten such great feedback on these from both my readers and my party guests that I thought I’d share about another thing that I love serving at parties – fruit platters!
A fresh fruit platter is an assortment of fresh fruits that are arranged beautifully on a plate or serving tray. They are typically served at parties and gatherings as appetizers.
There’s no exact recipe for a fruit platter and you can make your spread as small or as large as you like, depending on the number of your guests. You can also make multiple if you’re serving a large group – they’re perfect for a charcuterie table and other large spreads.
When it comes to ingredients, you have all the freedom to choose your favorite fruits. However, I recommend that you consider the season – fresh berries, apricots, or tropical fruits are great for summer platters, while melons, dates, plums, and persimmons are ideal for a fall or winter spread.
In-season fruits have the best taste and freshness, plus they offer a unique touch to your platter. Whatever the season, here are some of the best fruits to use for your fruit tray:
- Berries: You can add any type of berry you like – they’re all great for adding color, texture, and a variety of taste to your fruit platter. Blueberries, blackberries, raspberries, and strawberries are my go-tos!
- Melons: Melons make an excellent base for fruit platters. Whether you scoop them into balls or slice them into wedges, the subtle sweetness of melons provide a delightful contrast to other fruits. I usually use cantaloupe, honeydew melon, and watermelon, but sometimes I go for canary or Crenshaw melons.
- Grapes: Grapes are ideal for filling your platter, plus they’re convenient to serve since they require no cutting or preparation. The small size of grapes, whether you use red, black, or green grapes, makes them easy for guests to grab and enjoy.
- Specialty Fruits: Specialty fruits will not only add amazing colors and textures to your platter but will also spark curiosity among your guests. Less common fruits like dragon fruit, star fruit, golden kiwi, papaya, or mango are all great choices.
When choosing your ingredients, variety is important to make the platter visually appealing. Include a mix of juicy, crunchy, and soft fruits to provide a variety of flavors and textures. It’s also best to avoid fruits that brown quickly like apples, pears, and bananas. If you decide to use them, make sure to slice and add them just before serving.
If you want to take your fruit platter to the next level, add dips! You can go sweet like melted chocolate, caramel sauce, or vanilla yogurt or savory like whipped cream cheese or herbed Ricotta cheese.
How To Make A Fruit Platter Step By Step
Once you’ve chosen your fruits and prepped them, it’s time to arrange them on your platter. Make sure all the fruits are properly washed and ready to be served (meaning they’re peeled, sliced, cut into shapes, etc.). You’ll need these tools when you’re ready to arrange:
- Serving Platter or Tray
- Small Bowls for Dips
- Tongs
- Garnishes and Decorative Elements (like fresh herbs or edible flowers)
Step 1 – Start with a Base Layer
A simple fruit platter always begins with a base to build upon. As I mentioned earlier, large, sturdy fruits like melons are ideal to create a foundation.
Serve them in balls, cubes, or wedges then spread them evenly across the platter to provide structure. Pineapples are also a great choice. Just make sure to not to make your spread too far in advance as these fruits tend to get watery after a while and their juices will cause a mess.
Alternatively, you can create a stunning centerpiece for your platter to make it stand out. A watermelon basket, pineapple boat, citrus tower, or fruit skewers are a few things you can try.
Step 2 – Create Sections or Clusters
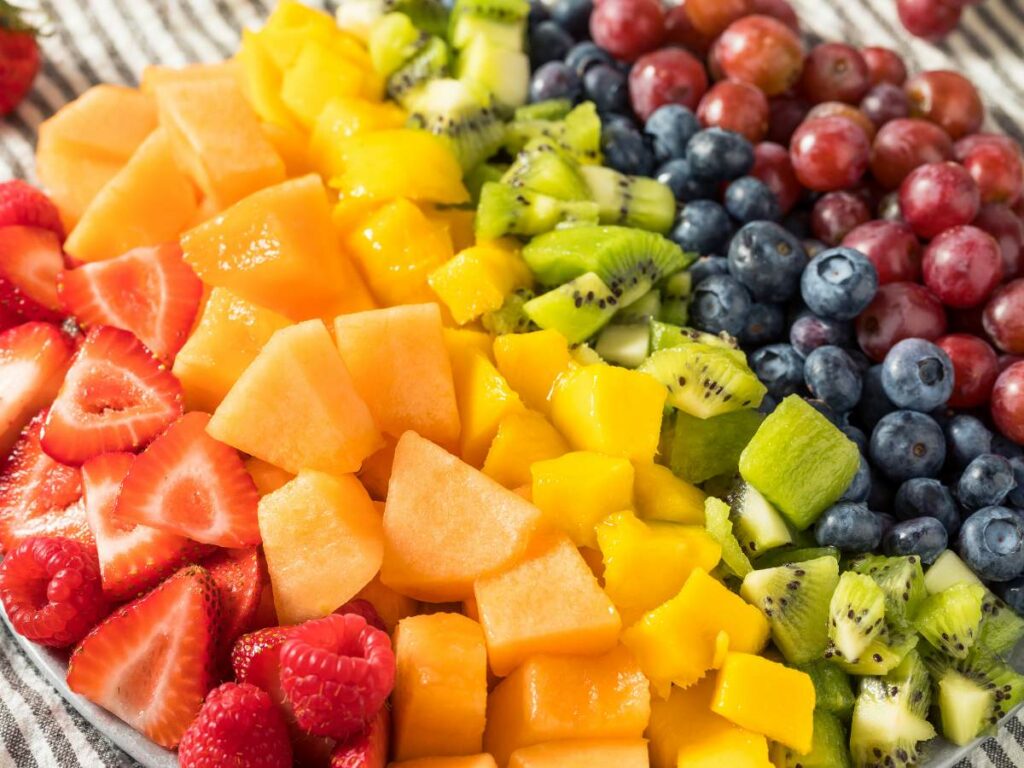
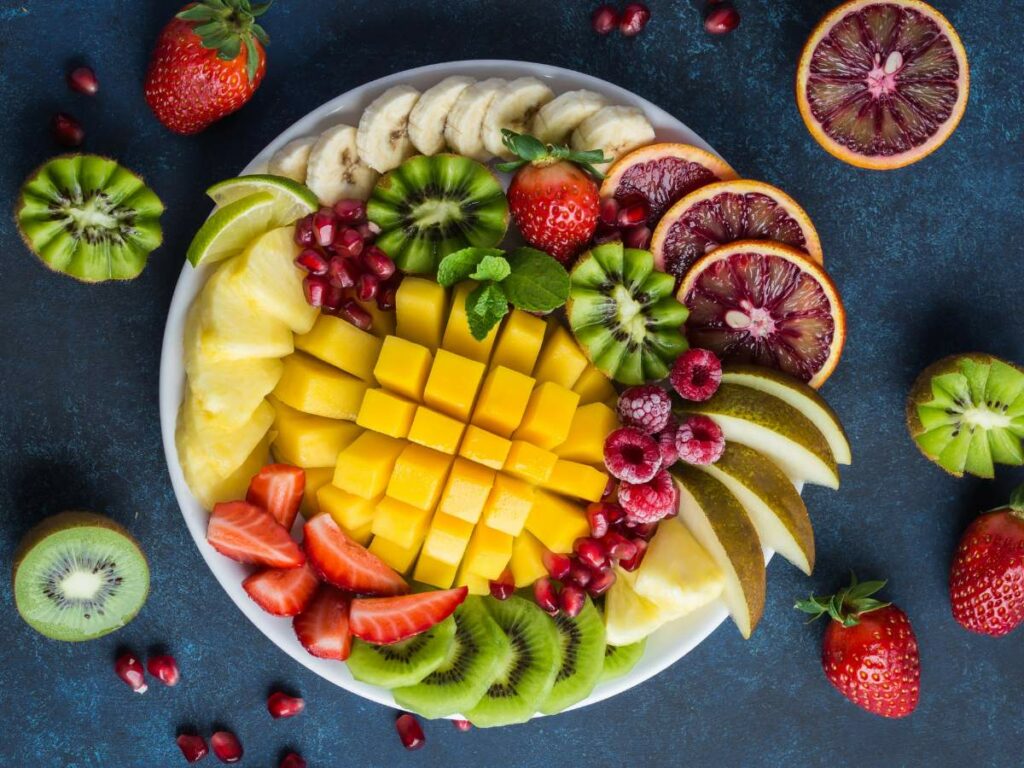
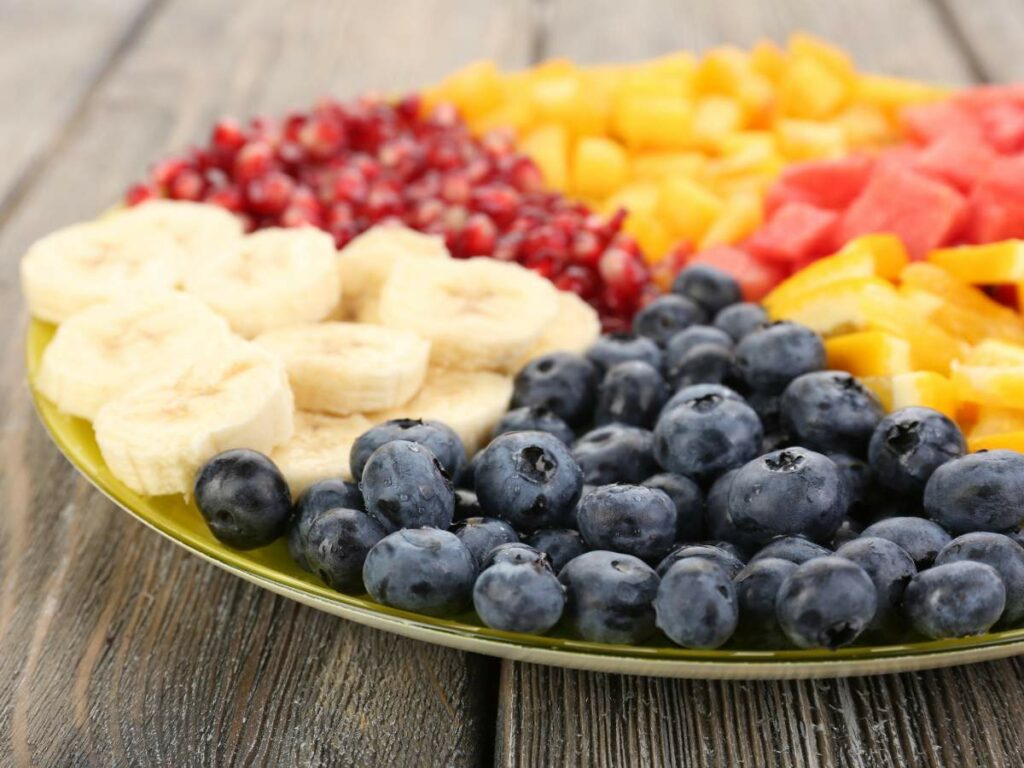
I like my fruit platters organized so I always create sections or clusters based on type and color. For example, you can group berries together, citrus slices in the next, and grapes in another.
I also like placing contrasting-colored fruits next to each other for better visual appeal. Think strawberries next to kiwi slices or blueberries next to mango chunks!
Step 3 – Add Something for Height
Height will add dimension and visual interest to your fruit platter. Easy options include bunches of grapes, piles of cherries, a melon ball pyramid, or fruit skewers. You can also incorporate a few whole fruits like a small pineapple or a large pomegranate to make your spread more dynamic.
Don’t forget to leave room for the dips! Begin by finding space to add your fruit dip bowls on the platter, making sure you have enough room before you continue with your fruit arrangement. Use your dip bowls to create a balanced and organized layout – just be mindful to position them where it’s easy for guests to access the dips without disrupting the fruit display.
Step 4 – Fill In The Gaps
Once you’ve arranged your larger fruits, it’s time to fill in the gaps. Smaller fruits like berries, grapes, cherries, and other bite-sized options are perfect for this.
These fruits not only add pops of color but also help to create a fuller, more abundant look. I like to add fillers in piles in between the sections I’ve made, run them along a curve, or simply scatter them to fill empty spaces.
Step 5 – Garnish
Garnishes can also help fill in gaps, but more importantly, they will complete the look of your spread. Depending on the theme of your platter, a few decorative elements you can add include fresh mint leaves or other herbs, edible flowers, pomegranate seeds, and coconut flakes. Fruits cut into small, fun shapes are also great to add for a beautiful finishing touch.
Tips For Making A Gorgeous Fruit Platter
For me, creating a memorable fruit platter is a mix of things – freshness, fun, and abundance. Here are a few quick tips to make a spread your guests won’t forget!
Prepare the Ingredients Beforehand
Making a fruit platter is easy, what takes time is the preparation. You can slice base fruits like melons and pineapples up to two days in advance, but prep and arrangements should be made the day of or as close to serving time as possible as much as possible to make sure that the fruits are at their freshest. Refrigerate your platter and take it out about 1 hour before serving.
If you want to prep a little more in advance and present individual skewers, rainbow fruit skewers are the way to go.
Pick A Color Scheme
While a fruit spread in rainbow colors is a classic, you can choose a specific color scheme to follow. I use blue, green, or red when I have to follow a boy birthday party theme and more neutral, earthy colors for a formal family reunion theme.
When I serve a fruit platter as part of a larger spread, I often add jams and fruit preserves “support” the fresh fruits. Depending on your chosen color scheme, berry jams (blueberry, strawberry, raspberry, etc.) are the best jams for charcuterie boards since they’re great at adding color to a spread.
Create Fun Shapes
I touched on this a little bit earlier, but I have to stress the importance of adding depth, dimension, and a playful element to your creation. I like using small cookie cutters in different shapes like flowers, hearts, and stars on larger fruits. Although it’s meant for veggies, I also use my trusty crinkle cutter knife on firmer fruits to make the slices more fun. These techniques make my fruit platter more dynamic and more appealing to kids!
Aim For Abundance
There’s nothing like having a full platter of fresh fruit at a party – it just gives off a vibe of abundance and generosity, which makes everyone feel good. When making a fruit arrangement, one trick I do is that I choose a plate or tray that barely fits the amount of fruit that I’m serving, so that it looks full and abundant.
Store Properly
It’s important to store leftover fruit properly to prevent food waste. You can cover the fruits in plastic wrap or store them in an airtight container before refrigerating or freezing. I store my summer berries in a cool, dark place.
This will help preserve the fruit for up to 3 days. I found that it’s better to store excess fruit separately – I spread the pieces in a single layer on a baking sheet and freeze until solid.
Once frozen, I transfer them to freezer-safe bags or containers, which helps reduce waste and I always always have some ready-to-use fruit on hand. I made my favorite Bahama Mama Tropical smoothie from my leftovers the last time!
How To Make A Gorgeous Fruit Platter
Equipment
- 1 Serving Platter or tray
- Small Bowls for Dips
- Tongs or more if needed
Ingredients
- 1 whole cantaloupe sliced
- 1 pound green grapes trimmed to small bunches
- 1 pound cherries
- 1 pound mixed berries
- 1 tablespoon fresh mint for garnish
Instructions
- Start with a base layer to build upon. Use large, sturdy fruits like melons and pineapples to create a foundation. Alternatively, you can create a centerpiece like a watermelon basket, pineapple boat, or fruit skewers to make it stand out.
- Once you’ve arranged your larger fruits, fill in the gaps with smaller ones. Berries, cherries, grapes, and other bite-sized options are perfect for this.
- Garnish and add decorative elements to finish the look of your fruit platter. Mint leaves or other herbs, edible flowers, coconut flakes, and fruits cut into small, fun shapes are all great choices.
Notes
Nutrition
Wrapping Up
Learning how to make a fruit platter is easy, but it’s your creativity in arranging the fruits that will make your spread memorable for guests. Just remember to use fresh, seasonal fruits in a variety of colors, flavors, and textures for a vibrant, dynamic spread.
Did you like what you just read? If you did, save this post in your bookmarks and use it as reference when you’re ready to make your best fruit platter yet. It would also be awesome if you shared it with your family and friends so they can make stunning fruit arrangements for parties, too!


