How to Start an Herb Garden: Tips for First-Time Gardeners
As a participant in the Amazon Services LLC Associates Program and other affiliate programs, Easy Homemade Life may collect a share of sales or other compensation from the links on this page. This comes at no additional cost to you, and all the prices and availability are accurate at the time of publishing.
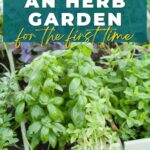
Are you dreaming of fresh and delicious homegrown herbs? Starting an herb garden is easy, even if you don’t have a green thumb yet. Read these top tips for first-time gardeners and prepare to harvest and use your herbs in no time.
If you think an outdoor garden might be too much for you right now, try an indoor herb garden instead.
What Are the Benefits of an Herb Garden?
You might be considering your own herb garden for a few reasons.
- Perfectly fresh flavor
- Improved well-being
- Functional landscaping
- Easy maintenance
- Save money
Fresh herbs yield the best flavor and potency. This is good news for anyone who likes cooking from scratch, herbal tea, or home remedies.
In addition to the delicious taste, many of us experience a sense of calm, joy, and emotional well-being the more we spend time in nature. An herb garden, no matter how small, can foster an enjoyable connection to the natural world and be a wonderful place to relax in the summer sun while drinking homemade strawberry lemonade.
Don’t be surprised when butterflies and bees become frequent visitors, flowering herbs attract pollinators and beneficial insects. Not only is your garden a beautiful addition to any landscape, but it will also become part of the larger environment around you and support a variety of life.
Moreover, herbs take to various environments and are generally easy to grow, making them a first choice for beginners.
Finally, you’ll save money by no longer buying herbs at the store. Perennial plants will live for years, while annual plants offer the opportunity to harvest continuously throughout one season.
Herbs are more than pretty garnish; you can use fresh herbs in anything from steak marinade to cocktails and drinks. Furthermore, you can dry or freeze material to preserve it for the future.
How To Plan an Herb Garden
Follow these three phases to plan, plant, and care for your herb garden.
First, begin by preparing. Identify your space, the materials you need, and the plants you want to grow.
Second, plant the plants.
Third, nurture and care for the plants. You’ll spend the most time in this step. Enjoy the exercise, time outside, and frequent harvesting.
This is a great project to start in spring and enjoy through the summer before the cold weather comes. Many plants suffer when temperatures drop. Even hearty succulents need more care in winter.
Identify the Best Growing Location
Herbs do well outside on a balcony, patio, windowbox, and in the backyard. It’s even possible to grow some herbs indoors near a windowsill.
Most herbs do best with ample amounts of natural light. Backyard Garden recommends about six of sunlight each day for optimal growth. However, some herbs are more sensitive and do best in partial shade with only four hours of daily sunlight. If you’re concerned about the hot summer sun burning the plants, keep them in containers first. Then, test the space and move the pots around as the season changes.
“Planting herbs in containers makes it super easy to adjust the sunlight your herbs get. For instance, if your cilantro starts to droop, you can move the pot into a cooler shadier spot, extending its lifetime.”
— Renee Gardner, Renee Nicole’s Kitchen
Water is essential, so pick a location with a water source nearby or be prepared to fill a watering can and carry water to the plants.
Placing the herb garden close to the kitchen is convenient for culinary purposes. For example, adding fresh dill to homemade Tzatziki Sauce is so satisfying. Additionally, you’re more likely to care for and be aware of the garden when you can see and access it easily.
Choose Materials for Your Garden Style
Common garden styles and designs include:
- Direct planting in the ground
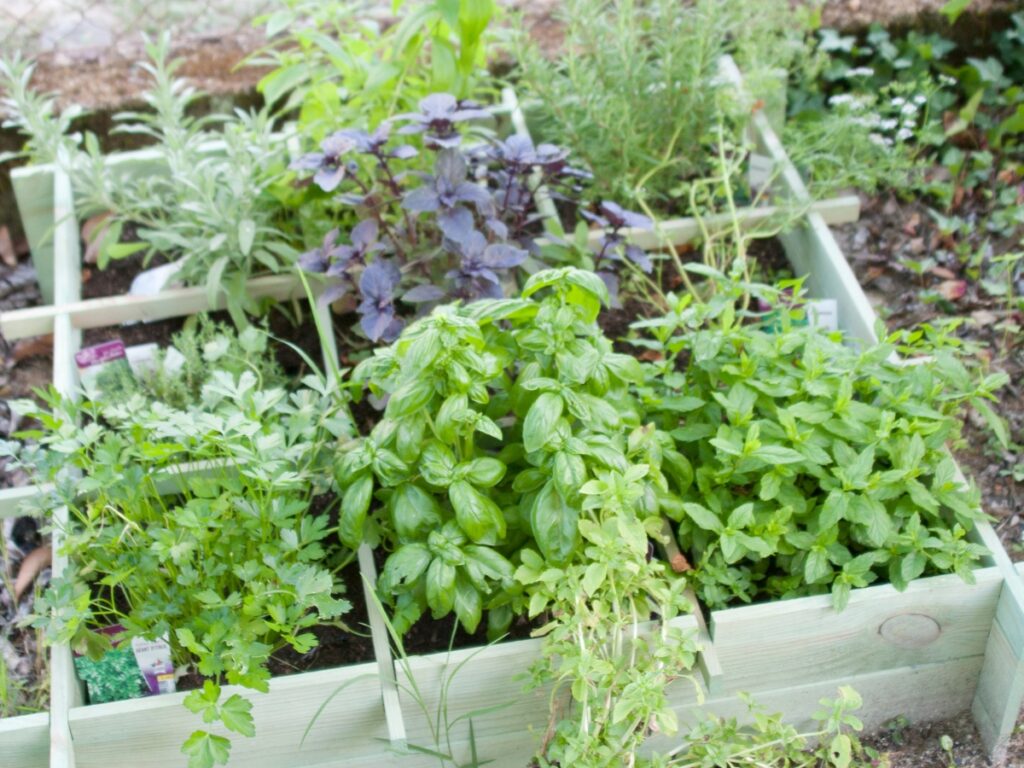
- Raised beds
- Vertical gardens
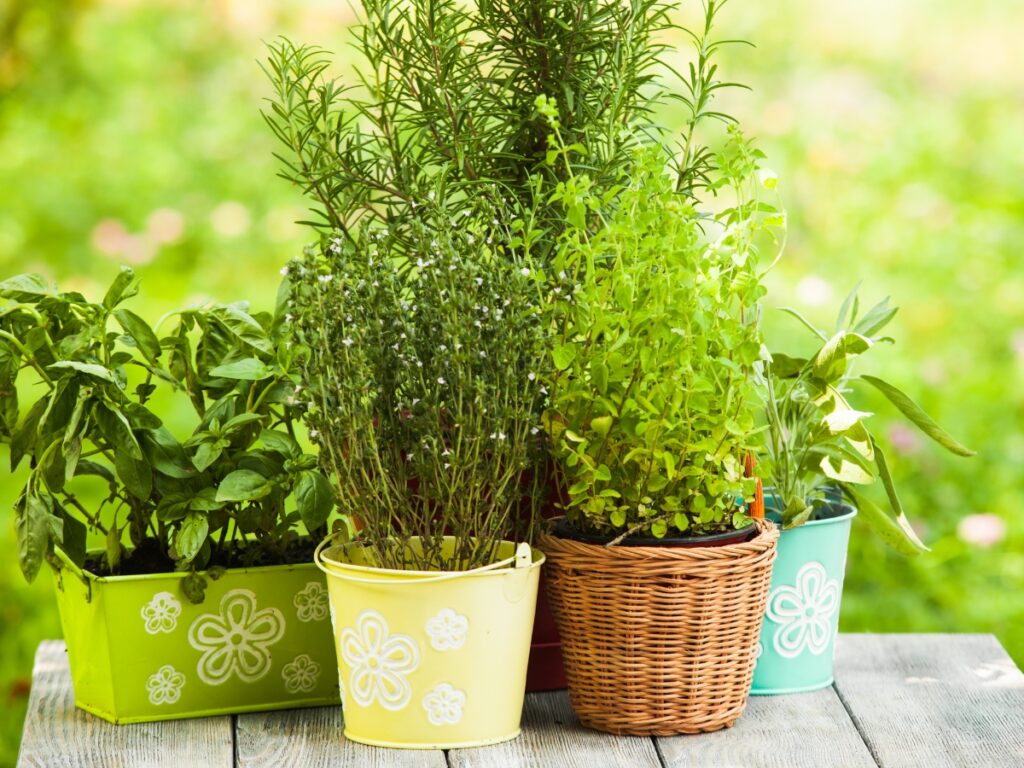
- Containers
- Windowboxes
If you have excellent sun exposure and rich, loamy soil in your backyard, the best place for a garden plot is directly in the ground.
On the other hand, if any of these variables could be better, consider raised beds or containers above ground for your herbs.
Buying a few containers is an easy way to get started. It’s a no-pressure investment that gives the herbs what they need and gives you some time to learn how to fit them in your space.
If you’re hesitant about digging or aren’t prepared to reseal wood on a raised garden bed, containers offer a flexible solution. Start by arranging containers over the spot you’re considering and see how they do. If well, you can make a more permanent setup next growing season.
Besides material for a raised bed or containers, buy quality all-purpose potting or raised bed soil from a local nursery or online. Also, consider your need for basic tools like a shovel, trowel, garden shears, watering can, and gloves.
Select the Right Herbs for You
Before anything else, think about the flavors you enjoy most. What are your favorite dishes? What herbs do you cook with most often?
Some herbs make the recipe what it is. For example, who could think of a mint julep without the mint?
Make a list of these plants and prioritize them for your new garden.
“When starting an herb garden, begin with just a few herbs you already use and love. It is much easier to devote yourself and maintain the time and attention needed for a successful garden when you are already passionate about the plants. Start small and go from there!”
— Kristen Wood, Schisandra & Bergamot
Common culinary herbs include:
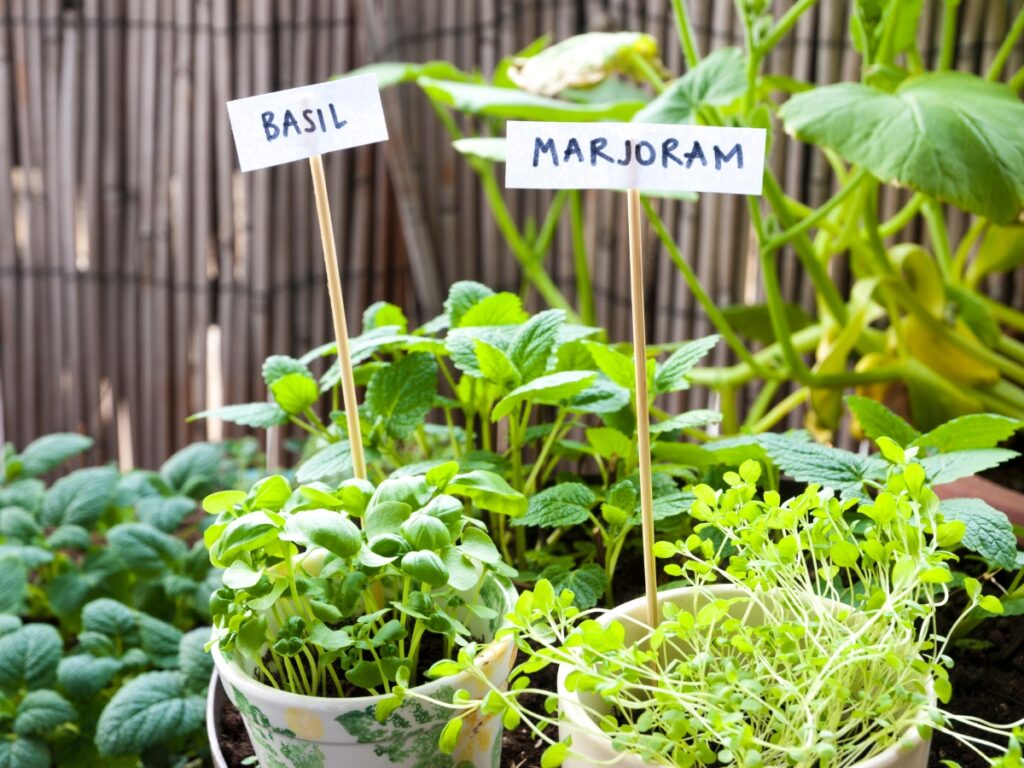
- Basil
- Cilantro
- Parsley
- Thyme
- Oregano
- Rosemary
- Mint
- Sage
- Chives
- Stevia (with many benefits and perfect for homemade stevia extract)
Common herbs for tea include:
- Peppermint
- Lemon balm
- Lemon verbena
- Chamomile
- Tulsi basil
“My first tip for starting a herb garden is to plant herbs you use in your cooking. Second, some herbs are easier to grow than others. Parsley, basil, and sage are good beginner herbs. Mint is another good one, but beware, it spreads like crazy!”
— Sarita Harbour, An Off Grid Life
Keep It Simple: Buy Seedlings
Now that you know where you keep them, what to put them in, and which ones to get, it’s time to buy them.
Buying seedlings from a nursery and transplanting them back at your house is the way to go for your first herb garden because it’s easier and more convenient than sprouting seeds.
Plant each herb according to the directions on the tag or label it comes with.
Nursery tags include details like:
- Light requirements
- Watering needs
- Size and shape
- Hardiness zones
- Care and use
- Special features
Hold the new plant at the base of the stem with one hand and gently loosen the roots before fitting it into a hole slightly bigger than the original container it came it. Fill in the hole with soil, but do not compact the dirt.
Finally, water the plant. Aim for the root, not just the leaves. Review the location for good water flow and monitor the plant over the next few days as it settles in.
TLC Growing Tips for Herbs
While easier than raising a puppy, herbs still need regular and consistent care until they successfully root and become at home in your garden.
Adding mulch is an excellent aid in minimizing weeds and keeping the soil moist.
Check your plants daily for a few weeks after planting. They should look perky and bright after two or three days.
Soon a daily check-in will involve harvesting the flavorful leaves. For best results, avoid selecting more than one-third of a plant so it still has lots of leaves and doesn’t get too stressed out.
Herbs like to be picked frequently, so enjoy their offerings whenever you like.
This article originally appeared on Food Drink Life.



I’m always so disappointed by the flavor of dried parsley and dried dill. Getting the ball rolling to grow my own this year!
This is great to hear! May your thumbs turn green!
What a perfect springtime activity! I always use fresh herbs in my cooking, and now I won’t have to buy them at the store 😉 this looks totally do-able!!
Take it one plant at a time if you need to. You can do it!