How to Use a Milk Frother Wand: A Step By Step Guide
As a participant in the Amazon Services LLC Associates Program and other affiliate programs, Easy Homemade Life may collect a share of sales or other compensation from the links on this page. This comes at no additional cost to you, and all the prices and availability are accurate at the time of publishing.
Knowing how to use a milk frother wand is a must for anyone who loves coffee. A frothy cappuccino is simply divine and that creamy, velvety foam on top of a latte just makes the drink even more delicious. A foam of milk not only enhances the texture of any beverage, but it also makes the drinking experience a lot better.
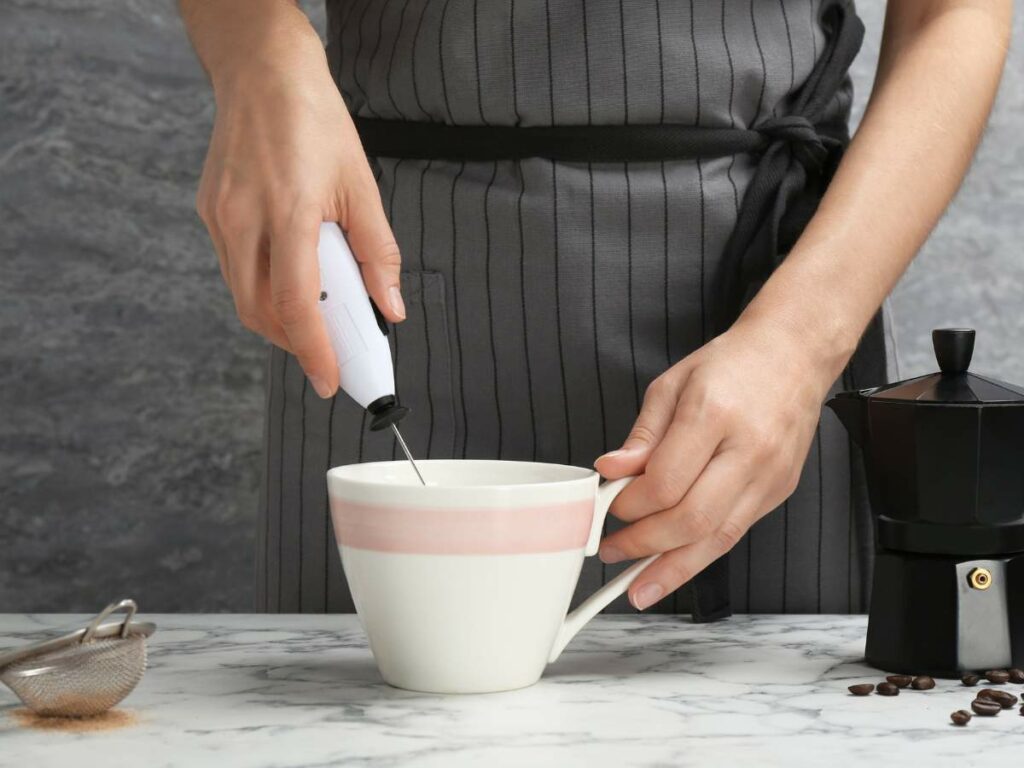
Thanks to milk frothers, you don’t have to go out and order your usual Starbucks drinks every time you need a coffee fix – you can make your favorite creamy coffees right at home. But how exactly do you use a milk frother?
In this guide, I’ll share with you how to use a milk frother wand step by step. We’ll also explore the different types, some cleaning tips, and as a bonus, a review of the top 3 milk frothers on Amazon to help guide you if you decide to purchase one. Let’s get started!
What Is A Milk Frother?
Like many of you, I’m a big fan of coffee. I used to drive out daily to get my favorite affordable Stabucks coffee, but later on, I learned how to make my own at home. I started with an iced Americano but soon craved those creamy, frothy coffees. That’s when I purchased my first ever milk frother wand. Today I even do a little bit of latte art!
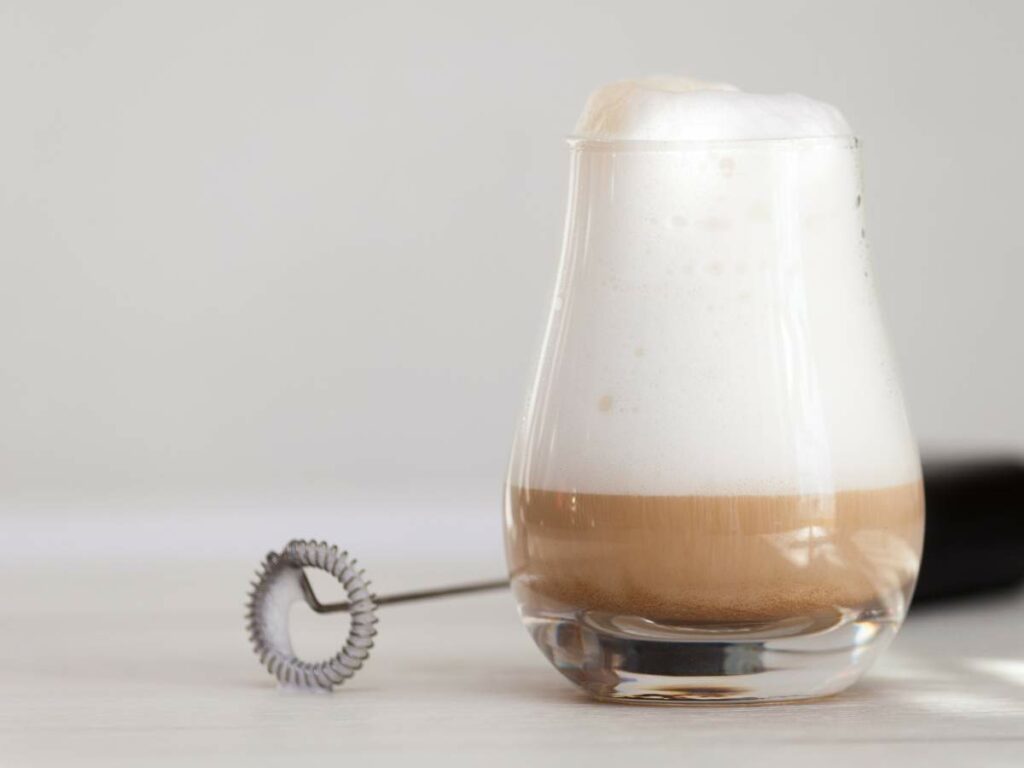
A milk frother is a kitchen device used to aerate milk and create a foamy froth, which is a key ingredient in many coffee beverages. It incorporates air into the milk until it becomes light and foamy, adding a creamy texture and enhancing the flavor of the drink. The more air the milk is exposed to, the thicker the foam will be.
Aside from making rich, velvety coffees, there are many other milk frother uses in the kitchen. I use my milk frother wand to make other creamy drinks like hot chocolate, matcha, and milkshakes.
I also use it to make whipped cream, fluffy scrambled eggs, and even foam for my cocktails – it’s one of my favorite kitchen gadgets and definitely one of the best gifts for coffee lovers!
Top 3 Milk Frother Wands on the Market
Convinced to buy your own milk frother yet? Treat yourself to one, fellow coffee lover – you deserve it! In this section, I’m happy to recommend my top three milk frother wands. I’ve personally tried and tested these products and believe me, I’ve gone through quite a lot!
My Recommendations
Now, on to the best part – my top three milk frother wands! I based my reviews on the products’ overall quality, power and speed, and price.
Best Milk Frother Wand: Maestri House Handheld Milk Foamer
The Maestri House Handheld Milk Foamer is not only sleek, easy-to-use, and powerful, but it also produces a velvety rich and creamy milk foam in seconds – just the way I like it. Since I like doing my part for the environment, I like that it’s USB-C rechargeable – I charge it for 3 hours and it lasts for a couple of months. It even has a low-battery indicator so I don’t have to guess when I need to charge it.
It makes the least noise out of all the milk frother wands I’ve used. Quality-wise, this awesome milk frother is at the top of my list. It’s made out of high-quality waterproof (IPX6) ABS plastic and the wand is 304 stainless steel. On top of that, it comes with two frothing whisks (in case you lost one) and a stainless steel stand for convenience.
Best Budget Pick: PowerLix Handheld Milk Frother
High on my list is the PowerLix Milk Frother Handheld Battery Opperated Electric Whisk. I have a couple of these battery-operated milk frothers at home, and my husband always uses one to make his favorite cup of matcha. He says that it is the easiest to clean out of all the frothers we have.
Despite its affordable price, this tiny frother is surprisingly powerful – not only does it produce good quality milk froth but its motor is strong enough to whip up sauces and salad dressings. It makes a great gift for moms and for fellow coffee enthusiasts for Christmas. Although batteries are not included, it does come with a stand and you can choose from over 80 colors. I got mine in pink! *wink*
Best Premium Pick: Subminimal NanoFoamer V2 Handheld Milk Foamer
I also highly recommend the Subminimal NanoFoamer V2 Frother. A barista friend of mine gifted one to me, and I instantly loved it! I was genuinely surprised that it could produce “micro bubbles” or “microfoam”, a consistency that’s usually only achieved by steam wands attached to espresso machines. Now I can make a cup of coffee at home that can rival the best Starbucks drinks!
This awesome milk frother wand is sleek and aesthetic, boasts of a digital on/off switch, and is made of heavy duty stainless steel and high-quality waterproof (IP4) plastic. I love that it comes with three different-sized heads (NanoScreens) to suit my preferred microfoam type: ordinary, fine, or superfine foam. I store mine using the adhesive wall-mount that it comes with, but you can also choose to put the protective hood on if you prefer to keep your frother inside your kitchen drawer.
How To Use A Milk Frother: A Step-By-Step Guide For Different Types
Now let’s get to frothin’! To be able to froth milk properly, it’s essential to learn about the various tools available. There are three main types of milk frothers and they come in various styles, shapes, and sizes. Let’s go through each one and explore how they work step by step.
Milk Frother Wand
A milk frother wand, also referred to as an electric or handheld frother, is a small, portable device that looks like a small electric whisk. It is usually battery-operated, although there are now models that can be charged via USB.
While they are more expensive than their manual counterparts, handheld frothers take away the manual work and allow you to create milk foam within seconds. Here’s how to use a milk frother wand step by step:
- Before you begin frothing, take your handheld frother near your sink and turn it on to remove any excess water that could water down your milk.
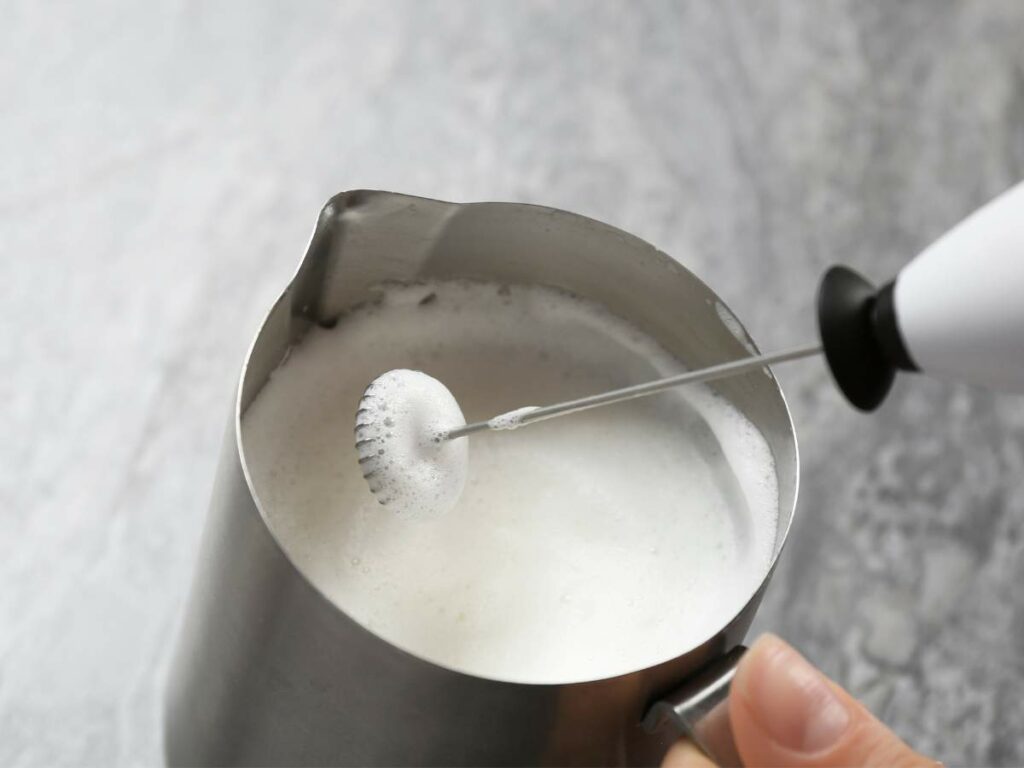
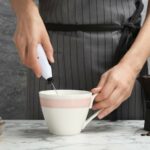
- Pour your milk into a pitcher (some use a small saucepan) then place the head of the frother wand vertically into the milk – not too deep as you won’t be able to create a foam consistency but not too near the surface, either, because the milk will spray everywhere.
- Once you’ve got the right depth, switch the frother wand on and hold it in place for about 30 seconds. You should see the foam starting to form.
- Continue holding the frother in place or swirl it slowly in a circular motion until you achieve your desired foam consistency.
- Turn the frother off and scoop the foam into your coffee or into a different container.
Manual Milk Frothers
A manual milk frother, also called a hand pump frother, works based on pressure. It is relatively easy to use and requires no electrical maintenance. Manual frothers typically come with a milk carafe with a lid and a plunger with a mesh filter at the bottom where the milk goes through. When you add milk to the carafe, you will need to hand pump the plunger and the mesh screen will aerate the milk, creating a thick foam.
Manual milk frothers are affordable, user-friendly, and easy to clean, but more effort is required in frothing milk compared to other types. Here’s a step-by-step guide on how to use a manual milk frother:
- Depending on your preference, pour hot or cold milk into the carafe. Milk expands during the frothing process, so make sure to look for a marking on the carafe for the maximum amount of milk to be poured. If there is no marking, fill it up to 1/3 only to avoid making a mess.
- Attach the lid of the frother. Make sure that it’s secure and that there are no gaps.
- Begin pumping the plunger up and down, building up your speed. The faster you pump, the more aerated the milk will be, resulting in more froth.
- After pumping for 30 seconds, check the foam’s consistency. If you’re not satisfied with the froth or it has large bubbles, pump for another 15 to 20 seconds.
- Once you’re satisfied with the froth, pour it on top of your coffee or transfer it to another container.
Automatic Milk Frothers
An automatic milk frother is a portable kitchen appliance designed to steam and/or froth milk. It typically comes with a detachable frothing whisk or disk, a carafe, and a base unit that houses the heating and frothing mechanisms of the machine.
Unlike handheld and manual milk frothers that usually create milk foam for a single serving of coffee at a time, automatic frothers can produce enough foam for up to three cups at once, depending on the model. These machines are also known to create the best quality milk foams. It’s best to follow the manufacturer’s instructions on how to use your automatic milk frother, but here’s a quick step-by-step guide on how to generally operate the machine:
- Pour milk into the machine’s carafe. Be mindful about the marking that indicates the maximum quantity of milk to be poured.
- Customize the settings of the machine according to your preferences. The programs and settings vary depending on the model of your frother, but you can usually adjust the temperature, froth density, and choose between hot and cold frothing options.
- Press the start button to begin the frothing process. The machine will froth the milk according to your preset duration and automatically shut off when the cycle is complete.
5 Things To Consider When Buying A Milk Frother
But before we get to my product recommendations, let’s quickly go through some important factors to consider when buying a milk frother. It’s easy to find a milk frother just about anywhere, but finding one that lasts is a different story. Let these factors guide you in choosing the right milk frother wand for you!
Materials Used
You always get what you pay for, so if a frother is surprisingly cheap, chances are it’s built with thin metal and plastic. The wand of a frother has the most tendency to break because it goes through the most pressure when it spins at high speeds. It’s also the connecting point of the whisk to the body of the frother.
Look for a frother with a thick wand. The thicker the wand, the less prone it is to bend, break, or snap off from the base. Choose a frother that’s built with durable materials like high-quality plastic and stainless steel for longevity and better user experience.
Design and Build Quality
When you hold a milk frother wand for the first time, you can tell by the weight if it’s good quality or not right away. Lower quality frothers are typically lighter because they’re made out of thin plastic and metal. It’s common for the front and back body panels of these frothers to separate after a few uses.
Look for a device that has a strong outer body with a comfortable, non-slip grip for ease of use and durability.
Motor Power and Speed
Another important thing to consider when buying a handheld milk frother is its motor strength and speed. A frother with a 15,000 RPM motor can froth milk efficiently. However, if you plan to use the device for other things such as blending powders or making sauces, I would recommend that you go for a milk frother with at least 19,000 RPM motor with 3V of power.
Additionally, it’s ideal to opt for a milk frother wand that has multiple speed settings. If you can adjust the speed, you can achieve your desired froth texture and consistently easier.
Size and Portability
Milk frother wands come in different sizes. One that has a compact and lightweight design is easier to store and transport, so you can make amazing cups of coffee anytime and anywhere.
Power Source
Handheld milk frothers are either battery-operated or rechargeable. The choice between the two is purely a personal preference. Battery-operated models are more portable, making them ideal for traveling or to use in areas without electricity. On the other hand, rechargeable milk frothers are more cost effective and environment-friendly because there’s no need for disposable batteries.

What Type Of Milk Should I Use?
When using a frother, the type of milk you use makes a world of difference in creating the perfect froth. It is believed that whole cow’s milk is best because it has the highest protein content among all the different types of milk. It’s the protein in the milk that stabilizes the air bubbles, therefore the higher the protein content the milk has, the better the foam. So if you want a thicker and creamier foam, use whole milk.
Alternatively, you can also use non-dairy alternatives like almond milk, coconut milk, and soy milk. Depending on their brand and their protein content, these milks will froth but the bubbles may disappear quicker compared to when whole milk is used.
When it comes to temperatures, you can froth both cold and warm milk. Cold milk will produce more froth, but you have to heat it in the microwave afterwards. On the other hand, while hot milk produces less foam, you can serve it immediately.
Also, if you’re frothing warm milk, do so at a temperature between 140 to 155 degrees Fahrenheit, as milk proteins typically break down and burn at around 170 degrees. It’s still ideal to practice with your favorite types of milk because they have different burning points. I found out the hard way that soy milk burns much faster than whole milk.
Wrapping Up
Now that you know how to use a milk frother wand and other types of milk frothers, there’s no reason for you to have a cup of cappuccino, hot chocolate, or even matcha green tea without a creamy, velvety milk foam on top, just the way baristas do it. Once you try, you’ll know that it’s really the frothy milk that makes the drink so good with pumpkin cream cheese muffins and all your favorite baked goods.
If you plan to buy a handheld milk frother, make sure to consider its material, build quality, power and speed, design, and portability. Try my recommendations to help you get started, and later on you can choose a milk frother wand that best suits your style, needs, and preferences.
If you found this article helpful, save it in your bookmarks and come back to it when you’re ready to buy a milk frother. Make your fellow coffee lovers smile by sharing this post with them – I’m sure they’ll love to learn about improving their coffee drinking experience, too!
How to Clean A Milk Frother Wand
Equipment
- 1 Medium bowl
- 1 Damp cloth or sponge
Materials
- 5 drops dish soap
- 1 bowlful warm water
Instructions
- Fill a medium bowl with warm water and add a few drops of dish soap.
- If your frother has a detachable whisk, carefully remove it according to the manufacturer's instructions.
- Submerge the whisk into the soapy water to remove any milk residue.
- Rinse the whisk under running water. Make sure to keep the frother away from the water stream.
- Apply a small amount of dish soap to a damp cloth or sponge to wipe down the handle and to remove any remaining milk residue.
- Place your milk frother wand on a drying rack or a clean towel and allow to air dry.
- Once completely dry, reattach the whisk to the handle and store in a dry, safe place like your kitchen drawer.





Amazing manual for using milk frothers! My homemade coffee has improved with these simple instructions. Strongly suggested for coffee enthusiasts!
I’m so glad to hear that, Sofia! I hope you enjoyed making it. Enjoy your coffee.