Homemade All Natural Antibacterial Soap Recipe
As a participant in the Amazon Services LLC Associates Program and other affiliate programs, Easy Homemade Life may collect a share of sales or other compensation from the links on this page. This comes at no additional cost to you, and all the prices and availability are accurate at the time of publishing.
This antibacterial soap recipe with essential oils is a safe and gentle way of cleaning your hands with all-natural ingredients. Make a quick melt and pour soap bar recipe at home with 5 simple steps in 10 minutes or less.
Why use Non-Toxic and All-Natural Ingredients?
If you are buying over-the-counter antibacterial washes, stop it right now, because you might be getting more than you intended. Dr. Janet Woodcock, director of the U.S. Food and Drug Administration’s (FDA) Center for Drug Evaluation and Research, says “some data suggests that antibacterial ingredients may do more harm than good over the long-term.”
The same 2019 written announcement notes triclosan, the main “antibacterial” ingredient, is a “concern to many environmental, academic and regulatory groups” because “Animal studies have shown that triclosan alters the way some hormones work in the body and raises potential concerns for the effects of use in humans.”
Triclosan was already regulated by the Environment Protection Agency (EPA) as a pesticide and is now officially on the banned ingredient list for soap and body washes. In total, there are 19 other ingredients effectively banned from use and an additional 3 (benzalkonium chloride, benzethonium chloride and chloroxylenol) that are currently excluded from the list of banned ingredients while still under study.
While this might be a step in the right direction, as Mae Wu points, it’s incomplete, and there’s still a ways to go.
Since there’s no evidence that these chemicals are helping, but there is evidence they might be harming, why take the risk?
Natural antibacterial options are safer for you and the environment, plus you’ll save money by making soap at home! You know you’re getting a clean, high-quality product when you make things yourself.
Not to mention, it’s a fun project to do over the weekend – you’ll find that soapmaking is one of the best pastimes to try at home.
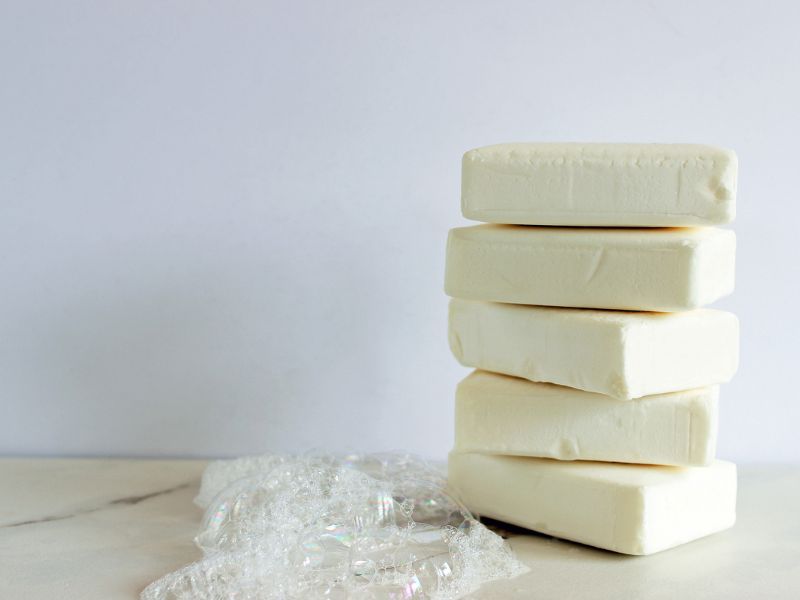
How to Make Homemade Antibacterial Bar Soap
Gather a few ingredients, clear your workspace, and start soap-making!
You can make a quick and easy melt and pour antibacterial soap recipe without any chemicals or potentially toxic compounds.
Use these soaps at home and share extras with your loved ones. I’m sure everyone you know would ooh and ahh and such a practical homemade gift.
Ingredients and Equipment
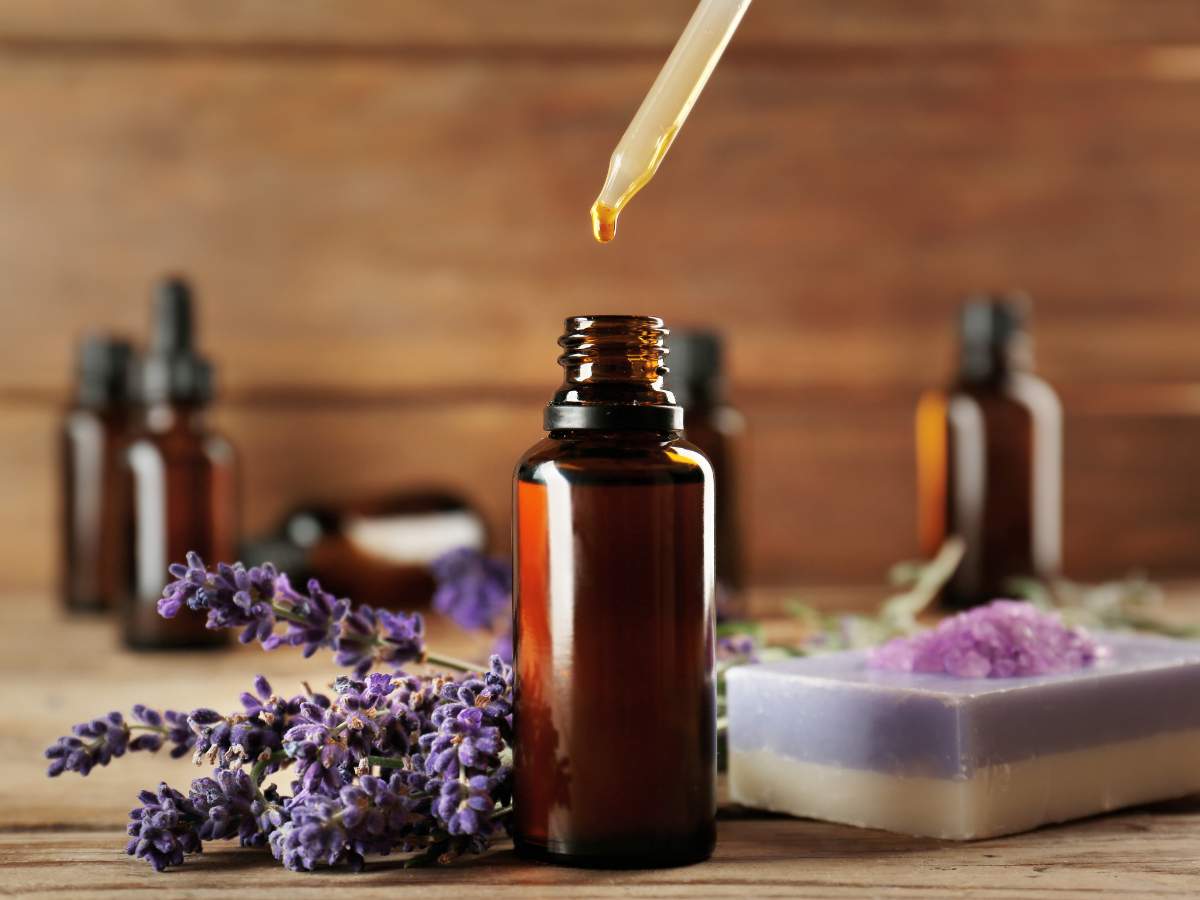
You only need two ingredients: soap base and essential oils.
Melt and pour soap base – The formula I like is shea butter and coconut oil-based and completely allergen-free. The silky combination of shea butter and coconut oil moisturizes the skin while also providing added natural antibacterial assistance. (1, 2) You can substitute with a glycerin or goat milk base if preferred. A two-pound base will make about ten soaps, depending on the mold size.
Essential oils – Instead of nasty chemicals, we employ the cleansing power of antifungal and antibacterial essential oils for soap. I use lemon, eucalyptus, rosemary, and tea tree. This Clean Cotton Essential Oil recipe uses similar oils to make a fresh and floral fragrance.
You can substitute with various essential oil blends for soap or add cinnamon, clove, and orange oils which are also known for their disinfecting properties. Another nourishing option is this DIY Turmeric Soap recipe.
Soap mold – You can’t set the soap without a soap mold. I like a silicon soap mold because it’s so easy to use and clean.
Step-By-Step Directions
Let’s talk about how to make antibacterial body soap. Follow along with this simple five step process from start to finish.
- Cut the soap base into small blocks and melt them in a double boiler over low heat. Stir occasionally until the material is completely liquid. Alternatively, heat in a microwave for 30-second intervals, stirring in-between. Repeat as needed until the base melts entirely.
- Mix in essential oils.
- Divide the liquid soap evenly into your mold.
- Leave the soap to set and harden. Take a shortcut by putting the mold in the refrigerator or freezer, and it will chill more quickly. I set a tray under the mold before transporting to catch any drips that might happen en route.
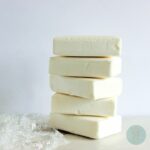
- Pop the soaps out once they are hard and use them immediately. Store extra soap bars in an airtight bag or wrap them in plastic wrap until you’re ready to use.
Rinse, lather and sud up this bar soap for your body and hands whenever you please.
Antibacterial Soap for Piercings or Tattoos
Not only is this homemade antibacterial soap recipe great any time you wash your hands or need a cleansing body wash, but you can also use antibacterial soap on a piercing or a tattoo.
You’ll get all the benefits of natural ingredients and avoiding harsh chemicals, which may be even more important when it comes to cleaning such sensitive and open areas of the body.
If you’re looking for a natural antibacterial soap for surgery, I don’t see why this simple soap with essential oils can’t work for you as well.
It’s safe for the whole body, including feet, armpits, and face. The plant-based soap base moisturizes while the essential oils protect and smell fantastic.
Natural Antibacterial Soap Bar FAQ
I understand you might have some questions, particularly if homemade melt and pour soap recipes are new to you or if you’ve never worked with antibacterial essential oils before. Let me answer some common queries and clarify the process for you.
Typically, you can stop washing a tattoo with antibacterial soap once the skin stops peeling and flaking, usually about one to two weeks after getting a tattoo. A smooth texture indicates healed skin and you can wash it just like the rest of your body.
Clean your nose piercing or any other piercing by first washing your hands, then set some suds aside and use on your piercing. Next, wipe the area with warm water using a cotton swab or ball. Apply soap lather to the skin and clean off. Wipe gently and carefully to avoid getting any cotton stuck to the jewelry.
Make sure to keep the jewelry ring or stud as clean as the skin. You don’t do any favors by reinserting a dirty ring or stud into a clean hole. As a general recommendation, clean the new piercing twice a day until it’s fully healed.
This antibacterial soap specifically targets bacteria, not fungus. Since fungus is a different type of organism and not a bacteria, antibacterial soap will not necessarily kill it. However, since eucalyptus essential oil, tea tree essential oil, and coconut oil are both antibacterial and antifungal, you may see positive results depending on the specific fungus.
More DIY Products with Antibacterial Oils
- Homemade Shower Cleaner without Vinegar
- 3 Natural Liquid Hand Soap Recipes
- 6 Ways to Make Homemade Laundry Soap
- DIY Tanning Bed Cleaner
- DIY All Purpose Cleaner without Vinegar
Homemade Antibacterial Essential Oil Soap
Equipment
Materials
- 1 pound melt and pour soap base
- 8 drops lemon essential oil
- 8 drops eucalyptus essential oil
- 8 drops rosemary essential oil
- 4 drops tea tree essential oil
Instructions
- Cut the soap base into small blocks and melt them in a double boiler over low heat. Stir occasionally until the material is completely liquid. Alternatively, heat in a microwave for 30-second intervals, stirring in-between. Repeat as needed until the base melts entirely.
- Mix in essential oils.
- Divide the liquid soap evenly into your mold.
- Leave the soap to set and harden. Take a shortcut by putting the mold in the refrigerator or freezer, and it will chill more quickly. I set a tray under the mold before transporting to catch any drips that might happen en route.
- Pop the soaps out once they are hard and use them immediately. Store extra soap bars in an airtight bag or wrap them in plastic wrap until you’re ready to use.

Working on my second batch, love this soap! Thank you!
That’s amazing to hear, Robbin. I’m so glad you’re enjoying it. Thank you for the warm feedback.